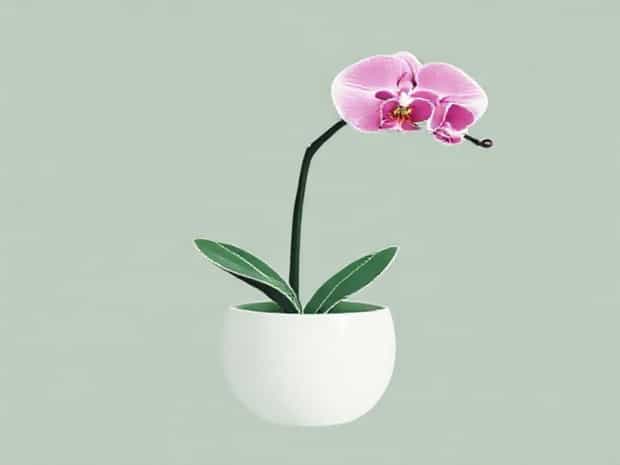
How To Repot An Orchid
Orchids are among the most admired houseplants, known for their exotic beauty and long-lasting blooms. While they can thrive for years in the same container, eventually their roots outgrow the potting mix, and the plant begins to struggle. At this stage, learning how to repot an orchid becomes essential to maintain its health and encourage new growth. Repotting orchids may seem intimidating to beginners, but with the right guidance, the process is simple and rewarding. By understanding the proper timing, materials, and techniques, you can keep your orchid vibrant and blooming year after year.
When to Repot an Orchid
Knowing the right time is the first step in learning how to repot an orchid. In general, orchids should be repotted every one to two years. Signs that your orchid needs repotting include
- Roots spilling out of the pot in large numbers.
- The potting medium breaking down and looking spongy or decomposed.
- Yellowing or unhealthy leaves despite proper care.
- Water not draining well through the pot.
The best time to repot is right after the orchid has finished flowering and before new growth begins. This gives the plant time to adjust and direct energy toward new roots and leaves.
Materials Needed for Repotting Orchids
Before you start, gather the supplies to make the process smooth. The basic items include
- A new pot that is slightly larger than the current one, with drainage holes.
- Fresh orchid potting mix, usually made of bark, sphagnum moss, or a blend.
- Sterile scissors or pruning shears to trim roots.
- Gloves, if desired, to keep hands clean.
- A clean work surface and a bowl of water for soaking the roots if needed.
Step-by-Step Guide How to Repot an Orchid
Step 1 Remove the Orchid from Its Pot
Carefully slide the orchid out of its current pot. If the roots are tightly stuck, gently squeeze the pot to loosen them. For stubborn cases, you may need to cut away the pot, especially if it is plastic. Take care not to damage the roots during this process.
Step 2 Clean the Roots
Shake off or rinse away the old potting medium from the roots. Old mix often harbors bacteria or fungi and should not be reused. Inspect the roots closely. Healthy orchid roots are firm and white or green. Trim away any roots that are mushy, brown, or shriveled using sterilized scissors. This helps prevent disease and promotes healthier growth.
Step 3 Choose the Right Pot
When learning how to repot an orchid, it’s important to choose the correct container. Orchids do not like oversized pots, so select one only an inch or two larger than the current pot. Many orchid growers prefer clear plastic pots because they allow you to see the roots and monitor their health. Whatever type you choose, ensure it has good drainage holes to prevent waterlogging.
Step 4 Add Fresh Orchid Potting Mix
Place a layer of fresh orchid mix at the bottom of the new pot. Orchids require a special growing medium that provides excellent airflow around the roots. Regular garden soil is not suitable, as it suffocates the plant. Bark chips, sphagnum moss, perlite, and charcoal are common components of orchid mixes.
Step 5 Position the Orchid
Place the orchid in the pot so that its roots spread naturally. Position the plant at the same depth it was previously growing. Hold it steady while you begin filling the pot with the fresh mix. Gently work the medium around the roots, ensuring there are no large air gaps. Be careful not to pack it too tightly, as orchids need room for air circulation.
Step 6 Water Lightly
Once the orchid is securely potted, water it lightly to help settle the potting mix. The water also reduces transplant shock. After this initial watering, wait several days before watering again to allow any trimmed roots to heal and prevent rot.
Aftercare for Repotted Orchids
Repotting is just the beginning. Proper aftercare ensures that the orchid adjusts smoothly to its new environment.
- LightPlace the orchid in bright, indirect light to encourage recovery and new growth.
- WateringMaintain a routine of watering once the top of the medium begins to dry, depending on the mix used.
- HumidityOrchids enjoy humidity levels of 40-70%. Use a humidity tray or room humidifier if needed.
- FertilizerBegin fertilizing lightly after a few weeks, using a balanced orchid fertilizer diluted to half strength.
Special Considerations for Different Orchid Types
Not all orchids are the same, and some have slightly different needs when it comes to repotting.
Phalaenopsis Orchids
Phalaenopsis, or moth orchids, are the most common type grown indoors. They thrive in bark-based mixes and clear pots. Repotting every one to two years keeps them healthy and encourages regular blooming.
Cymbidium Orchids
Cymbidium orchids prefer a heavier potting mix with more moisture retention. Because they produce dense root systems, they may need larger pots and more frequent repotting compared to other types.
Dendrobium Orchids
Dendrobium orchids have more specific care needs, often depending on the variety. Some prefer bark, while others do better in moss. When repotting, always research your specific dendrobium to provide the correct medium.
Common Mistakes to Avoid
Repotting orchids is straightforward, but mistakes can hinder growth. Here are some to watch out for
- Using regular soil instead of orchid-specific mix.
- Repotting too often, which can stress the plant.
- Choosing a pot that is too large, leading to excess moisture and root rot.
- Packing the potting medium too tightly, reducing airflow to the roots.
- Watering immediately after trimming roots, which can encourage disease.
Benefits of Repotting Orchids
When done correctly, repotting orchids provides numerous benefits. It refreshes the growing medium, reduces the risk of disease, and allows roots to expand. Repotting also gives you a chance to divide larger orchids, creating new plants to share or expand your collection. Ultimately, learning how to repot an orchid ensures long-term plant health and more frequent, stunning blooms.
Repotting an orchid may seem like a delicate task, but with the right approach, it is a manageable and essential part of orchid care. By timing the repotting correctly, choosing the proper pot and medium, and following careful steps, you give your orchid the best chance to thrive. The reward is a healthier plant, stronger roots, and the promise of beautiful flowers in the seasons ahead. Mastering how to repot an orchid will not only keep your plant alive but also allow it to flourish, becoming a lasting centerpiece in your home or garden.