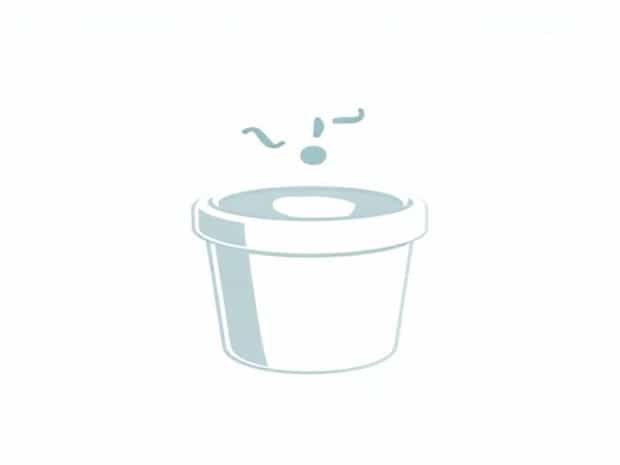
How To Refill Munchkin Diaper Pail
Managing a nursery efficiently involves staying on top of diaper disposal, and the Munchkin Diaper Pail has become a popular choice for many parents due to its convenience and odor-controlling features. However, knowing how to properly refill the diaper pail is essential to keep it functioning smoothly and hygienically. While the process may seem straightforward, new parents or caregivers may face challenges when dealing with the pail’s refill system. Understanding the steps, tips, and precautions can make diaper changes less stressful and ensure the pail continues to operate at its best.
Understanding the Munchkin Diaper Pail Refill System
The Munchkin Diaper Pail uses specially designed refill bags or cartridges to hold and seal away dirty diapers. Unlike standard trash cans, the diaper pail’s system helps minimize odors and keeps germs contained. Most Munchkin models require continuous refill bags, which are twisted and locked to seal each diaper individually, preventing smells from escaping.
Why Using the Correct Refill Matters
Using the proper Munchkin refill bag is crucial. Generic bags or incompatible sizes can lead to jamming, tearing, or improper sealing. Each refill is designed to fit perfectly within the pail and ensure the lid and sealing mechanisms work efficiently. Investing in the correct refill type saves time and keeps the nursery smelling fresh.
Step-by-Step Guide to Refilling a Munchkin Diaper Pail
Step 1 Prepare the New Refill
Start by removing the new refill from its packaging. Most Munchkin diaper pails come with a refill cartridge or a roll of bags that need to be inserted into the pail. Check the bag for any twists or kinks and make sure the end is accessible for easy threading into the pail.
Step 2 Open the Diaper Pail
Lift the lid of the diaper pail according to the model’s instructions. Some Munchkin models feature a simple swing lid, while others may have a push-button release. Opening the lid fully provides better access to remove the old bag and install the new one without spilling or tearing the bag.
Step 3 Remove the Old Refill
Carefully take out the used bag or cartridge. If it contains several diapers, hold it upright to prevent any leakage. Tie or twist the top of the bag as needed, depending on the model, and dispose of it according to your local waste regulations. Cleaning the interior with a disinfectant wipe or mild soap is recommended before inserting a new refill to maintain hygiene.
Step 4 Insert the New Refill
Take the new refill and thread the first bag through the opening of the pail. Most models have a guiding slot or funnel to make this easier. Ensure that the bag’s end is positioned correctly so that the first diaper can be inserted without getting stuck. Pull down a few inches of the bag so it is ready for the first use.
Step 5 Secure the Bag in Place
Depending on the model, you may need to lock the bag or cartridge into the pail. This step ensures that the twisting and sealing mechanism functions properly for each diaper. Double-check that the bag is evenly distributed inside and that there are no wrinkles that could cause jams.
Step 6 Close the Lid
Once the refill is correctly positioned, close the lid. Test the lid mechanism by inserting a diaper and observing how the pail twists and seals it. The diaper should be contained securely inside the bag without leaking odors.
Tips for Maintaining Your Munchkin Diaper Pail
1. Replace Refills Promptly
Waiting too long to replace a refill can cause the pail to jam or become overly full. Check the bag regularly and replace it before it reaches capacity. This ensures smooth operation and maintains the pail’s odor control features.
2. Clean the Pail Regularly
Even with a refill bag, the pail can accumulate residue or odors over time. Wipe down the interior with warm water, mild soap, or a disinfecting wipe. Avoid harsh chemicals that may damage the plastic or seal.
3. Store Extra Refills Conveniently
Keep extra refill bags nearby, either in the nursery or a closet, so that replacing them is quick and hassle-free. This reduces stress during nighttime diaper changes or busy mornings.
4. Follow Manufacturer Instructions
Each Munchkin model may have unique refill insertion techniques. Reading the instruction manual ensures you are using the correct method, which prevents mistakes and prolongs the life of your pail.
5. Monitor for Jams or Tears
If a bag tears or jams during use, remove it carefully and clean any mess immediately. Reinstall the refill according to the steps above to restore functionality.
Common Mistakes to Avoid
- Using non-Munchkin refill bags, which can cause improper sealing
- Overfilling the bag before replacing it, leading to spills
- Forcing the lid or mechanism, which can damage the pail
- Ignoring regular cleaning, which may reduce odor control effectiveness
- Skipping the step of threading the bag correctly, which can result in jamming
Why Refilling Properly Matters
Correctly refilling the Munchkin diaper pail ensures hygiene, odor control, and smooth operation. A properly maintained pail reduces stress during diaper changes and keeps the nursery environment pleasant. Parents can focus on caring for their child rather than dealing with leaks, jams, or unpleasant smells.
Refilling a Munchkin diaper pail may seem daunting at first, but with the right approach, it becomes a simple part of daily nursery management. By understanding the refill system, following step-by-step instructions, and maintaining the pail, parents can enjoy the convenience and hygiene benefits that make this product so popular. Consistent care, prompt replacement of refills, and attention to cleaning ensure that the diaper pail continues to function effectively, making parenting a little easier and the nursery a little fresher.