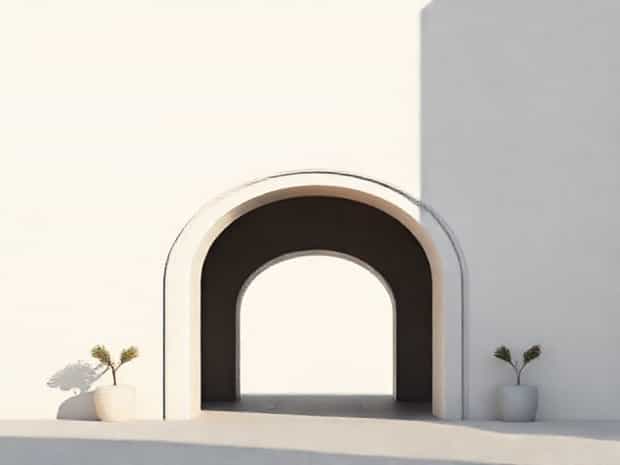
How To Make An Archway
Building an archway can transform any space, whether it is part of a garden, a doorway, or a decorative feature in an outdoor or indoor setting. Archways have been used for centuries in architecture because of their elegance, strength, and timeless design. From Roman stone arches to simple wooden garden arches, these structures add character and visual appeal. Learning how to make an archway requires careful planning, patience, and a clear understanding of the materials you want to use. The process may seem challenging, but with the right approach, even beginners can create a beautiful and lasting archway that enhances their environment.
Understanding the Purpose of an Archway
Before beginning construction, it is important to determine why you want to build an archway. Archways can serve different purposes depending on their placement and design. Some people create garden archways to support climbing plants like roses or ivy, while others use them to frame an entryway or pathway. In homes, archways can replace traditional square doorframes, adding softness and flow to a room. By knowing the purpose of your archway, you can choose the right style and materials that best fit your project.
Common Types of Archways
Archways come in several forms, each with its own aesthetic and functional qualities
- Garden archwayOften made of wood or metal, perfect for outdoor decoration and supporting plants.
- Stone or brick archwayTraditional and durable, often used in structural applications.
- Interior archwayCreated with drywall or wood framing to soften the look of doorways.
- Decorative archwayLightweight and primarily aesthetic, sometimes used for weddings or events.
Planning the Archway
Careful planning is key to building a successful archway. Start by measuring the space where it will be installed. Decide the width, height, and curve of the arch. The radius of the curve plays a major role in how the arch looks some are gentle and wide, while others are tall and narrow. Make a sketch of your design and consider how the arch will fit with surrounding structures.
Choosing Materials
Materials determine not only the durability of your archway but also the tools and techniques needed for construction. Common materials include
- WoodEasy to cut and assemble, ideal for garden or indoor decorative arches.
- MetalStrong and elegant, often used for garden arches with climbing plants.
- Brick or stoneRequires masonry skills but creates a strong, timeless structure.
- DrywallCommon in interior home projects to replace square doorways with curved ones.
How to Make a Wooden Garden Archway
One of the most popular DIY projects is a wooden garden archway. It is versatile, attractive, and manageable with basic carpentry tools. Below are the main steps
1. Gather Tools and Materials
You will need treated wood posts, curved wooden beams or plywood for the arch, screws or nails, brackets, a saw, drill, tape measure, level, and concrete for securing posts.
2. Measure and Mark the Location
Decide where the arch will stand. Use stakes and string to mark the width and height. Make sure the spacing allows enough room for walking through comfortably.
3. Install Support Posts
Dig two holes for the vertical posts, usually about 45-60 cm deep. Place the posts into the holes and fill them with concrete for stability. Use a level to ensure the posts are perfectly vertical before the concrete sets.
4. Create the Arch Shape
The curved section can be made by cutting plywood into arch shapes and attaching them together for thickness. Alternatively, you can bend thin wood with steam or purchase pre-curved beams. Attach the arch piece securely across the two vertical posts.
5. Add Crossbeams and Details
For stability, add horizontal crossbeams along the top of the arch. Decorative lattice or side panels can be attached to encourage climbing plants. Sand and finish the wood with weather-resistant paint or sealant.
How to Make a Brick or Stone Archway
Brick and stone archways require more skill but result in a highly durable and elegant structure. The key to success is building a solid support frame during construction.
1. Construct a Wooden Formwork
Create a temporary wooden frame in the exact shape of the arch. This form will hold the bricks or stones in place until the mortar dries.
2. Lay the Foundation
Start with strong vertical supports made from brick or stone. These act as the base columns for the arch. Ensure they are level and secure before proceeding.
3. Place the Keystone
The keystone is the central stone or brick at the top of the arch. Begin laying bricks from each side toward the center, working evenly until both sides meet at the keystone. The keystone locks the entire arch into place.
4. Remove the Formwork
After the mortar has fully set, carefully remove the wooden support frame. The arch should remain strong and stable on its own.
Building an Interior Archway with Drywall
For indoor projects, drywall archways are a popular choice to replace sharp, rectangular openings with a softer look.
1. Frame the Opening
Measure the doorway and cut wooden studs to form the base frame. Attach curved plywood or flexible drywall to create the arch shape at the top of the frame.
2. Apply Drywall
Cut drywall pieces to cover the frame, including the curved section. Screw the drywall into place, ensuring smooth curves along the arch.
3. Finish with Joint Compound
Apply joint compound over seams and screw holes. Sand the surface smooth once dry. Repeat the process until the archway looks seamless. Finally, paint or finish the arch to match the surrounding walls.
Design Ideas for Archways
Archways can be customized to fit different styles and purposes. Some creative ideas include
- A rustic wooden arch in the garden covered with climbing roses.
- A grand stone arch framing a pathway or courtyard.
- A lightweight decorative arch for weddings, decorated with fabric and flowers.
- A minimalist drywall arch that softens transitions between rooms.
Tips for Success
To ensure your archway is strong and attractive, keep these tips in mind
- Always measure twice before cutting materials.
- Use quality materials that can withstand weather if building outdoors.
- Take time to make sure supports are level and secure.
- Do not rush when working with mortar or concrete; let it cure fully.
- Add decorative details only after the structure is stable.
Learning how to make an archway is both a practical and creative project. Whether you choose wood, metal, stone, or drywall, the process involves planning, precision, and patience. A well-made archway can enhance the beauty of a garden, serve as a welcoming entrance, or add character to an interior space. By following the right steps and considering both structure and design, anyone can build an archway that combines strength with elegance, creating a feature that will be admired for years to come.