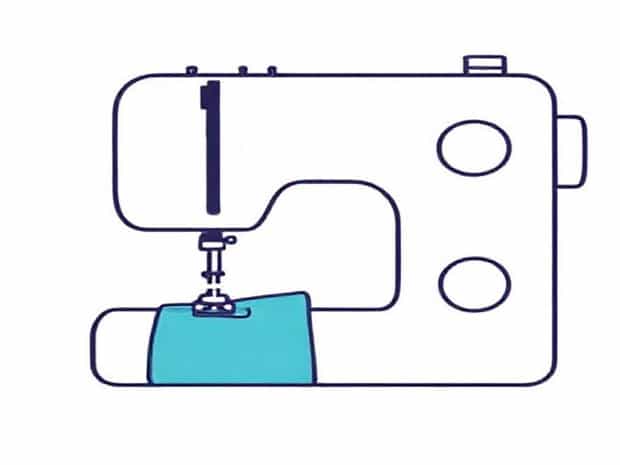
How To Hemstitch On A Sewing Machine
Hemstitching is a beautiful decorative technique often used in sewing to add elegance and detail to garments, linens, and home décor items. While traditionally done by hand, modern sewing machines allow crafters and sewers to achieve hemstitching effects with greater speed and precision. Learning how to hemstitch on a sewing machine requires understanding the steps, tools, and techniques necessary to create neat, consistent stitches that enhance the overall appearance of your fabric projects. This guide provides a comprehensive approach for both beginners and experienced sewers looking to incorporate hemstitching into their work.
Understanding Hemstitching
Hemstitching involves creating small, decorative holes along a fold or edge of the fabric, typically accompanied by stitches that pull the threads together in a delicate pattern. Traditionally, this technique requires pulling threads manually and stitching over them, producing an elegant, openwork effect. On a sewing machine, hemstitching mimics this appearance through specialized stitches, often called hemstitch or decorative stitches, which create a similar lacy finish without manual thread manipulation.
Materials and Tools Needed
Before beginning, it’s essential to gather the appropriate tools and materials to ensure a smooth hemstitching process on your sewing machine.
- Sewing machinewith hemstitch or decorative stitch settings
- Fabricsuitable for hemstitching, such as cotton, linen, or lightweight blends
- Threadthat contrasts or matches the fabric, depending on the desired effect
- Hemstitch footor a standard presser foot if your machine has stitch options for openwork
- Marking toolslike fabric chalk or disappearing ink pens for guiding your stitching
- Ironfor pressing the fabric before and after stitching
Preparing Your Fabric
Proper fabric preparation is key to achieving precise and even hemstitching. Begin by washing and ironing your fabric to remove wrinkles and any sizing that might interfere with stitching. Mark the lines where you want the hemstitching to appear using fabric chalk or a disappearing ink pen. Ensure your markings are straight and evenly spaced to maintain a professional-looking finish. If you are working with delicate fabric, it may be helpful to stabilize the area with a light interfacing to prevent puckering.
Setting Up the Sewing Machine
Most modern sewing machines have decorative stitch options that mimic hemstitching. Consult your machine’s manual to identify the appropriate stitch, often labeled as hemstitch, openwork stitch, or ladder stitch. Attach the hemstitch foot if available, or use a standard presser foot and adjust the stitch width and length settings to suit your fabric. Test your settings on a scrap piece of fabric to ensure the stitch creates the desired effect without puckering or stretching.
Step-by-Step Hemstitching Process
1. Folding and Pinning
Begin by folding the fabric edge or hem according to your project requirements. Pin the fold in place, ensuring the pins are perpendicular to the edge so they do not interfere with the presser foot. This step ensures the fabric remains stable as you sew and prevents shifting that can distort the hemstitch pattern.
2. Aligning the Fabric
Position the fabric under the presser foot so the marked line for stitching aligns with the needle’s entry point. Lower the presser foot to hold the fabric securely in place. Double-check that the fabric is straight and that the markings are properly aligned with the stitch pattern on your machine.
3. Sewing the Hemstitch
Begin sewing slowly to maintain control, guiding the fabric gently without pulling or pushing. The decorative stitch will create the hemstitch effect, forming small open spaces along the fold. Keep an even pace to ensure the holes and stitches remain consistent throughout the length of the hem. If your machine allows, adjust the stitch width or length mid-process to refine the appearance of the hemstitch.
4. Finishing the Stitching
Once you reach the end of the fabric, secure the hemstitch by backstitching slightly or tying off the threads manually if needed. Trim any excess thread carefully to avoid fraying. Press the stitched area lightly with an iron to flatten the folds and enhance the neat appearance of the hemstitch. This finishing step helps set the stitches and gives your project a polished look.
Tips for Perfect Hemstitching on a Sewing Machine
- Practice on scrapsBefore working on your main project, practice hemstitching on scrap fabric to perfect your technique.
- Use quality threadHigh-quality thread prevents breakage and ensures a smooth, even stitch.
- Adjust tensionModify the machine’s tension settings to suit your fabric type for consistent stitches without puckering.
- Stabilize delicate fabricsUse lightweight interfacing or tissue paper under delicate fabrics to prevent distortion.
- Slow and steadyMaintain a slow sewing speed for accuracy, especially when creating decorative patterns.
- Iron between stepsPressing the fabric during folding and after stitching enhances the final appearance of your hemstitch.
Applications of Hemstitching
Hemstitching adds a refined, decorative touch to a variety of fabric projects. Common applications include
- Linen tablecloths and napkinsAdds elegance to dining sets and home décor.
- HandkerchiefsCreates a traditional and delicate finish.
- Garment hemsEnhances dresses, blouses, and skirts with subtle decorative edges.
- Home décor projectsCurtains, pillowcases, and bed linens benefit from the added detail and texture of hemstitching.
Mastering hemstitching on a sewing machine combines technical skill with creativity, allowing sewers to enhance their fabric projects with professional-looking decorative edges. By understanding the process from preparing the fabric and setting up the sewing machine to executing precise stitching and finishing the hemstitch effect can be achieved efficiently and beautifully. With practice and attention to detail, hemstitching on a sewing machine offers a versatile and elegant method for elevating garments, linens, and home décor items, ensuring your projects carry a distinctive and polished touch that stands out.