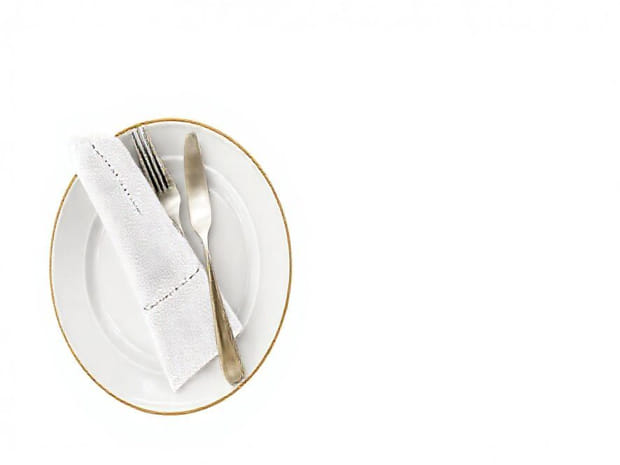
How To Hemstitch Napkins
Hemstitching napkins is a traditional needlework technique that adds a touch of elegance and refinement to table linens. This decorative method involves creating small, precise holes along the edges of a napkin and then weaving or stitching threads to form a delicate pattern. Hemstitching is often used on linen or cotton napkins, and mastering this skill can turn ordinary napkins into beautiful, heirloom-quality pieces. Learning how to hemstitch napkins requires patience, attention to detail, and a step-by-step approach, but the results are rewarding and can enhance any dining setting with sophistication and charm.
Understanding Hemstitching
Hemstitching is a type of drawn thread work in which threads are pulled or withdrawn from the fabric, and the remaining threads are bundled together using embroidery stitches. This creates a decorative border along the edges of the napkin that is both elegant and intricate. Hemstitching can be used on various linens, including tablecloths, handkerchiefs, and pillowcases, but it is particularly popular for napkins due to their frequent use and visibility on dining tables.
Tools and Materials Needed
Before beginning hemstitching, gather the necessary tools and materials. The quality of your supplies can affect the final appearance of your napkins.
- Napkins made of linen or cotton, preferably tightly woven for easy stitching.
- A fine embroidery needle suitable for your thread and fabric.
- Embroidery thread, usually in a matching or contrasting color.
- Small, sharp scissors for cutting threads.
- An embroidery hoop to keep the fabric taut while stitching.
- A ruler or measuring tape for precise spacing of stitches.
- Optional a marking pencil or fabric chalk to guide your stitching.
Preparing the Napkin
Preparation is key to successful hemstitching. Start by ironing the napkin to remove wrinkles, ensuring a smooth surface for stitching. Fold the edges of the napkin over by about a quarter inch to create a hem, and press with an iron. This folded hem provides stability and prevents fraying while you work. Use pins or clips to hold the hem in place if necessary, making sure the edges remain even and neat.
Marking the Stitching Area
Mark the area where you plan to hemstitch using a fabric pencil or chalk. Typically, hemstitching is done along the folded edges, leaving about 1/8 inch to 1/4 inch from the raw edge. Use a ruler to space the marks evenly, which ensures that your stitches are consistent and symmetrical. Accurate marking is crucial for creating a professional-looking design and maintaining uniformity across all edges of the napkin.
Step-by-Step Hemstitching Technique
Hemstitching involves a series of small, controlled stitches. Follow these steps to achieve a neat and decorative finish
1. Thread the Needle
Cut a length of embroidery thread, usually around 18 to 24 inches, and thread it through the needle. Tie a small knot at the end of the thread to secure it. Using the right length of thread prevents tangling and allows for smooth stitching.
2. Begin at a Corner
Start stitching at one corner of the napkin. Insert the needle from the back of the fabric through the folded hem to hide the knot. Pull the thread through gently, ensuring it is secure but not too tight. This starting point sets the foundation for even stitches along the edge.
3. Create the Hemstitch
To create the hemstitch, pull one or more threads from the fabric along the marked area. Use a simple overcast or herringbone stitch to bundle the remaining threads together. Pass the needle through the threads carefully, spacing each stitch evenly according to your markings. Continue this process along the edge, maintaining consistent tension to prevent puckering or uneven patterns.
4. Turning Corners
When you reach a corner, make small, neat stitches to secure the hem before turning. Fold the fabric neatly and continue hemstitching along the next edge. Maintaining consistent spacing and tension around corners ensures a uniform and polished look.
5. Finishing the Thread
Once you reach the starting point, secure the thread with a small knot on the back of the fabric. Trim any excess thread carefully. Inspect your work for loose threads or uneven stitches, and make adjustments as needed. Proper finishing prevents unraveling and gives the napkin a professional appearance.
Tips for Successful Hemstitching
Hemstitching requires precision and patience, but following these tips can make the process smoother and improve results
- Use a sharp, fine needle to avoid damaging the fabric.
- Work in good lighting to see the threads clearly.
- Maintain even tension on your stitches to avoid puckering.
- Practice on scrap fabric before starting on your napkins.
- Keep your hands relaxed to reduce fatigue and improve control.
Advanced Hemstitching Techniques
Once you are comfortable with basic hemstitching, you can explore more advanced techniques to add intricate designs to your napkins. Decorative patterns can include multiple rows of hemstitching, lace inserts, or combining hemstitching with other embroidery techniques. Experimenting with different thread colors, stitch types, and spacing allows you to create personalized and elegant designs suitable for special occasions or gifts.
Combining Hemstitching with Embroidery
Adding embroidery to hemstitched napkins enhances their decorative appeal. You can embroider floral motifs, monograms, or geometric patterns along the edges or in the center of the napkin. Combining these techniques requires careful planning and precise execution but results in heirloom-quality napkins that are both functional and beautiful.
Care and Maintenance of Hemstitched Napkins
Hemstitched napkins require gentle care to preserve their delicate edges and decorative patterns. Wash them in cold water using a mild detergent, preferably by hand or in a delicate cycle on the washing machine. Avoid harsh chemicals or bleach, which can weaken the threads. Dry the napkins flat or hang them to air dry, and press them lightly with an iron to maintain crisp edges. Proper care ensures that hemstitched napkins remain beautiful for years and can even become treasured family heirlooms.
Learning how to hemstitch napkins is a rewarding craft that combines precision, patience, and creativity. By understanding the tools, preparing the fabric carefully, and following step-by-step techniques, you can create beautiful, decorative napkins that elevate any dining experience. With practice, hemstitching allows for advanced patterns and customization, making your napkins unique and elegant. Proper care and maintenance ensure that these handcrafted pieces remain pristine for years, offering both functionality and aesthetic appeal. Whether for personal use, gifts, or special occasions, hemstitched napkins are a timeless addition to any table setting.