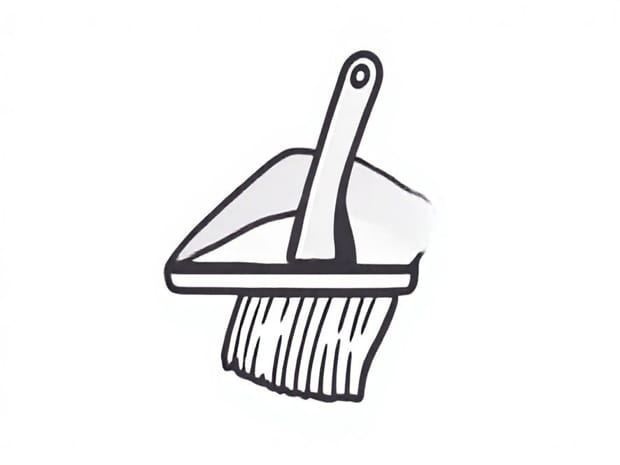
How To Draw A Dustpan
Drawing everyday objects can be both fun and educational, especially for beginners who want to improve their observational and artistic skills. One such object is a dustpan, a simple household tool that might seem easy to sketch at first glance, but drawing it accurately requires attention to shape, perspective, and proportion. By learning how to draw a dustpan, you can practice basic geometric shapes, shading techniques, and line work, all of which contribute to improving your overall drawing abilities. This guide will walk you through the process step by step, making it easy to follow even if you are new to drawing.
Understanding the Structure of a Dustpan
Before starting to draw, it is important to understand the basic structure of a dustpan. A typical dustpan consists of three main parts the handle, the scoop, and the edge. The handle is usually long and narrow, attached at an angle to the flat scoop. The scoop itself is a slightly concave surface that curves upward at the edges to contain dust and debris. The front edge is often thin and flat to make it easier to sweep materials into the pan. Observing these details will help you capture the dustpan’s realistic form.
Materials Needed
- Pencil – for sketching and detailing.
- Eraser – to correct mistakes and refine lines.
- Paper – any drawing paper or sketchbook will work.
- Ruler – to help with straight lines and proportions.
- Optional Colored pencils or markers for adding color.
Step-by-Step Guide to Drawing a Dustpan
Step 1 Sketch the Basic Outline
Start by drawing the overall shape of the dustpan using simple geometric shapes. Draw a trapezoid or a slightly rounded rectangle to represent the scoop. The top of the trapezoid should be narrower than the bottom. This will give the impression of depth and perspective. Next, sketch the handle as a straight or slightly angled rectangle extending from the top of the scoop. Keep the lines light so they can be easily adjusted later.
Step 2 Add Curves and Details
Once the basic shapes are in place, refine the outline by adding curves to the scoop. Dustpans are not perfectly flat; their sides curve upward to hold dust. Gently draw these curves along the edges. Also, add a slight thickness to the handle and the scoop’s front edge to make the drawing more three-dimensional. Consider adding a small hole at the end of the handle, which is often used for hanging the dustpan.
Step 3 Refine the Handle
The handle is a key feature that connects the scoop to the user. Add small details such as a rounded end or textured grip if you want a realistic look. Make sure the handle’s angle matches the perspective of the scoop. If the dustpan is tilted, adjust the handle’s position to reflect this perspective. Using light lines, draw the handle’s width consistently to maintain proportion.
Step 4 Add Shading and Depth
To make your dustpan drawing look more realistic, add shading. Identify the light source and shade the areas that would naturally be in shadow, such as under the handle and inside the scoop. Use softer pencil strokes for gradual shading and darker lines for edges that are more prominent. Adding shadows beneath the dustpan can also create a sense of weight and placement on a surface.
Step 5 Include Texture and Finishing Touches
Dustpans often have smooth plastic or metal surfaces. To show this texture, you can add subtle reflections or highlights by leaving small areas of the paper white. If your dustpan has ridges, grooves, or patterns, lightly sketch these details to enhance realism. Finally, erase any unnecessary lines and reinforce the final outlines to make your drawing clean and polished.
Tips for Drawing a Dustpan
- Start with light lines so you can easily make corrections.
- Use a ruler for straight edges but soften the lines to avoid a rigid look.
- Observe a real dustpan to understand its proportions and angles.
- Practice drawing different perspectives, such as a side view or a tilted view, to improve spatial understanding.
- Experiment with shading techniques like cross-hatching or blending to create depth.
Common Mistakes to Avoid
- Making the handle too long or too short compared to the scoop.
- Ignoring the curved edges of the scoop, which can make the drawing look flat.
- Overusing dark lines in areas that should appear smooth or reflective.
- Forgetting perspective, which can make the dustpan appear distorted.
Practice and Variations
After completing your first dustpan drawing, try experimenting with different designs and perspectives. You can draw a dustpan with a broom nearby, or add textures such as metal scratches or plastic patterns. Practicing with various angles will help you understand how light, shadow, and shape interact. Additionally, try combining colored pencils to add realism, especially if your dustpan has bright colors or reflective surfaces. Each variation enhances observation skills and strengthens drawing techniques.
Learning how to draw a dustpan is a simple yet effective exercise for developing basic drawing skills, including proportion, perspective, and shading. By breaking the process into steps outlining, refining shapes, adding details, and shading you can create a realistic representation of this everyday object. Practicing these techniques not only helps with drawing household items but also improves overall artistic ability. With patience and observation, anyone can learn to draw a dustpan accurately and with attention to detail, making this a rewarding exercise for both beginners and experienced artists.