Fuel Petcock Rebuild Kit
The fuel petcock is a crucial component in many motorcycles, ATVs, and small engines, responsible for controlling the flow of fuel from the tank to the carburetor. Over time, wear and tear can cause leaks, blockages, or malfunction, making it necessary to rebuild or replace the fuel petcock. A fuel petcock rebuild kit provides all the essential components needed to restore proper function, ensuring smooth fuel delivery and preventing engine problems. These kits typically include gaskets, O-rings, washers, and other small parts designed to fit specific petcock models, allowing for an effective, cost-efficient repair without replacing the entire unit. Understanding how a fuel petcock rebuild kit works and how to use it properly is essential for anyone maintaining motorcycles, ATVs, or small engines.
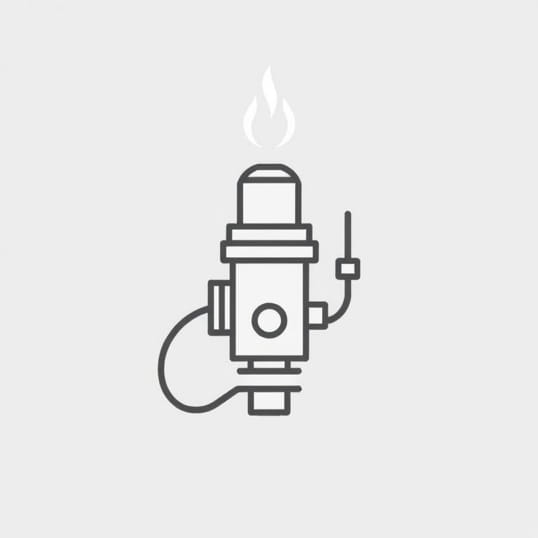
What is a Fuel Petcock?
A fuel petcock, sometimes called a fuel valve, is a manual or automatic device that regulates the flow of gasoline from the fuel tank to the engine’s carburetor. Its primary function is to control fuel delivery, prevent leaks, and provide a reserve fuel setting for emergencies. Most fuel petcocks have three positions ON,” “OFF,” and “RESERVE.” The ON position allows standard fuel flow, OFF stops fuel entirely, and RESERVE taps into the lower portion of the fuel tank to provide extra mileage when the main supply runs low.
Signs You Need a Fuel Petcock Rebuild
Recognizing when a fuel petcock needs attention can prevent engine problems and fuel leaks
- Fuel LeaksGasoline seeping from the petcock or tank connection indicates worn seals or gaskets.
- Inconsistent Fuel FlowEngine sputtering, stalling, or difficulty starting can result from blockages or malfunctioning valves.
- Difficulty Switching Between ON and RESERVEStiff or unresponsive levers suggest internal wear or corrosion.
- Old or Cracked Rubber ComponentsO-rings and gaskets deteriorate over time and need replacement.
What is Included in a Fuel Petcock Rebuild Kit?
A fuel petcock rebuild kit typically contains the parts required to restore the valve to proper working condition without replacing the entire assembly. The exact contents may vary depending on the make and model, but common components include
- O-rings and seals to prevent fuel leaks
- Gaskets to ensure a tight connection between parts
- Springs and washers for smooth valve operation
- Small internal components specific to the petcock design
- Instructions for proper installation and assembly
Benefits of Using a Rebuild Kit
Opting for a fuel petcock rebuild kit instead of replacing the entire valve has multiple advantages
- Cost-EffectiveRebuilding a petcock is often significantly cheaper than purchasing a new one.
- Environmentally FriendlyReusing the original valve reduces waste and the environmental impact of manufacturing new parts.
- Custom FitKits are designed to match the specific petcock model, ensuring accurate restoration.
- Improved PerformanceFresh seals and components restore smooth operation and prevent fuel-related engine problems.
- DIY-FriendlyMost kits are straightforward to install with basic tools and mechanical knowledge.
How to Rebuild a Fuel Petcock
Rebuilding a fuel petcock involves careful disassembly, cleaning, and replacement of worn components. The steps are generally as follows
Step 1 Remove the Fuel Petcock
Ensure the fuel tank is empty or siphon fuel safely before removing the petcock. Use a wrench to detach the valve from the tank, taking care to catch any residual fuel.
Step 2 Disassemble the Petcock
Carefully disassemble the valve by removing screws, springs, washers, and other internal parts. Take note of the original configuration to ensure proper reassembly.
Step 3 Clean All Components
Use a soft brush and carburetor cleaner or mild detergent to remove dirt, rust, or old fuel residue. Thorough cleaning is essential to prevent future blockages.
Step 4 Replace Worn Parts
Install the new O-rings, gaskets, washers, and springs from the rebuild kit. Make sure each component fits snugly in its intended position to avoid leaks or operational issues.
Step 5 Reassemble and Test
Carefully reassemble the petcock, ensuring all parts are aligned correctly. Reattach the valve to the fuel tank and test the flow in the ON, OFF, and RESERVE positions. Check for leaks and ensure smooth operation before refueling the tank fully.
Tips for Maintaining Your Fuel Petcock
Proper maintenance extends the life of your fuel petcock and ensures reliable fuel delivery
- Inspect seals and gaskets regularly for signs of wear or cracking.
- Keep the fuel tank clean to prevent debris from clogging the valve.
- Use fresh fuel to reduce the risk of varnish and sediment buildup.
- Lubricate moving parts with a small amount of fuel-safe lubricant if necessary.
- Rebuild or replace the petcock promptly at the first sign of malfunction.
A fuel petcock rebuild kit is an essential tool for anyone maintaining motorcycles, ATVs, or other small engines. It allows for cost-effective, efficient, and environmentally friendly restoration of the fuel valve, ensuring consistent fuel flow and preventing leaks or engine problems. By understanding the components included in the kit, following proper rebuilding steps, and maintaining the petcock regularly, you can significantly extend its life and maintain the performance of your engine. Investing in a quality rebuild kit and performing routine maintenance can save time, money, and potential headaches, making the fuel petcock rebuild kit a valuable addition to any DIY mechanic’s toolkit.