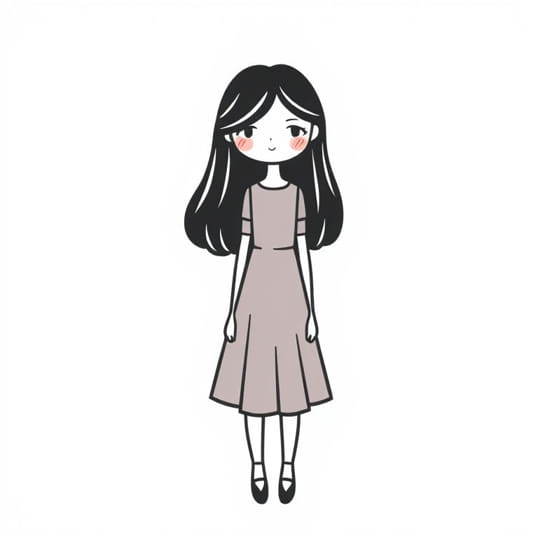
Draw A Girl Step By Step
Learning to draw a girl step by step is a rewarding journey that combines observation, creativity, and practice. Whether you are a beginner looking to improve your artistic skills or an experienced artist refining your techniques, understanding the fundamentals of human proportions, facial features, and posture is crucial. Drawing a girl can involve multiple approaches, from simple cartoon-style sketches to realistic portraits, and following a structured step-by-step method ensures that the process is manageable and enjoyable. This guide explores how to approach drawing a girl in a way that builds confidence and improves technique.
Understanding Proportions
Before starting any drawing, it is important to understand human proportions. Proportion refers to the relative size of body parts to one another. For a realistic representation, most artists use the head count method, where the total height of a figure is measured in head lengths. A typical young girl is usually around six to seven head lengths tall, though this can vary based on age and style. Understanding proportions helps in creating a balanced and visually appealing figure.
Step 1 Basic Shapes
Begin by sketching basic shapes to outline the figure. Use circles, ovals, and lines to represent the head, torso, arms, and legs. These shapes act as a framework and help ensure that the body parts are in the correct proportion. The head is typically drawn first, followed by the torso, hips, and limbs. This skeleton-like structure allows you to adjust poses and gestures easily before adding details.
Step 2 Sketching the Face
Once the basic shapes are in place, focus on the face. Start by dividing the head into horizontal and vertical guidelines to position the eyes, nose, and mouth accurately. Eyes are generally located halfway down the head, with the nose halfway between the eyes and chin. The mouth is positioned slightly above the chin. Adding simple shapes for eyes, nose, and lips initially allows you to correct placement before refining details.
Adding Features and Hair
After establishing the face’s structure, begin drawing the hair and other facial features. Hair can be simplified into shapes and flows before adding individual strands. Consider the hairstyle you want to depict, whether long, short, curly, or straight, and use gentle strokes to convey texture and volume. Eyebrows, eyelashes, and subtle shading around the eyes bring life and expression to the character.
Step 3 Drawing the Body
With the face and hair in place, refine the body’s outline. Use smooth lines to connect the basic shapes of arms, torso, and legs. Pay attention to posture and movement; a natural pose enhances the realism and character of your drawing. Simplify hands and feet with basic shapes initially, as they can be challenging, then gradually add details like fingers and toes.
Step 4 Clothing and Accessories
Once the figure is complete, add clothing and accessories. Clothing follows the contours of the body, so keep the underlying anatomy in mind. Sketch folds, creases, and details such as collars, buttons, or patterns to make the clothing look natural. Accessories like hats, bows, or jewelry can enhance personality and style. This step allows creativity and expression to shine, making your drawing unique.
Refining and Shading
After completing the basic outline, it’s time to refine your drawing. Erase unnecessary guidelines and reinforce important lines. Adding shading and highlights creates depth and dimension, transforming a flat sketch into a more lifelike illustration. Light source is crucial in this step; determine where the light is coming from and shade accordingly. Soft gradients on the skin, subtle shadows under the hair, and folds in clothing help the drawing appear three-dimensional.
Step 5 Detailing the Eyes and Expression
The eyes are often considered the most important part of a character because they convey emotion and personality. Add pupils, reflections, and subtle shading to make them expressive. Adjust the eyebrows and mouth to create the desired expression, whether happy, thoughtful, or curious. Small changes in expression can significantly affect the overall feel of the drawing.
Step 6 Adding Texture and Finishing Touches
Finally, focus on textures and finishing touches. Hair strands, fabric details, and small accessories can be enhanced with fine lines and shading. Consider adding a background or simple elements like a chair, flower, or toy to provide context and environment. These final touches bring cohesion to your artwork and make it more visually appealing.
Tips for Success
- Practice RegularlyDrawing a girl step by step improves with consistent practice and observation.
- Reference ImagesUse photos or real-life observations to understand anatomy, clothing, and poses.
- Start SimpleBegin with basic shapes and outlines before adding details.
- Use Light StrokesSketch lightly to make corrections easier before finalizing the lines.
- Study Shading TechniquesUnderstanding how light interacts with surfaces helps in creating realistic textures.
- Be PatientDetailed drawings take time, and gradual improvements lead to mastery.
Benefits of Step-by-Step Drawing
Following a step-by-step approach not only helps beginners gain confidence but also ensures that proportions, perspective, and details are accurate. It provides a structured method for tackling complex subjects and reduces the intimidation factor of starting a drawing. Over time, artists develop their style and can deviate from the steps while maintaining solid foundational skills.
Exploring Different Styles
Drawing a girl step by step is not limited to realistic art. You can experiment with various styles, including cartoon, anime, manga, or abstract representations. Each style has its conventions, but the step-by-step method remains useful. Starting with basic shapes, gradually refining features, and adding details works across styles, allowing flexibility and creative exploration.
Cartoon and Anime Styles
For cartoon or anime-style drawings, exaggerate features such as eyes, hair, or expressions while simplifying anatomy. The step-by-step method ensures that even stylized characters maintain balance and visual coherence. This approach is especially helpful for beginners interested in animation, comic art, or graphic novels.
Realistic Style
For realistic drawings, focus on accurate anatomy, shading, and proportion. Use references to capture clothing textures, skin tones, and natural poses. The step-by-step approach helps in maintaining accuracy while allowing for artistic interpretation.
Drawing a girl step by step is a fulfilling process that combines technical skill, creativity, and observation. From understanding proportions and sketching basic shapes to refining features, adding clothing, and applying shading, each step builds on the previous one to create a complete and expressive illustration. Practicing regularly, using references, and exploring different styles enhances artistic growth and confidence. Whether for beginners or seasoned artists, following a structured approach ensures that the final drawing is balanced, detailed, and visually engaging. With patience, attention to detail, and creativity, anyone can learn to draw a girl step by step, creating artwork that is both personal and captivating.