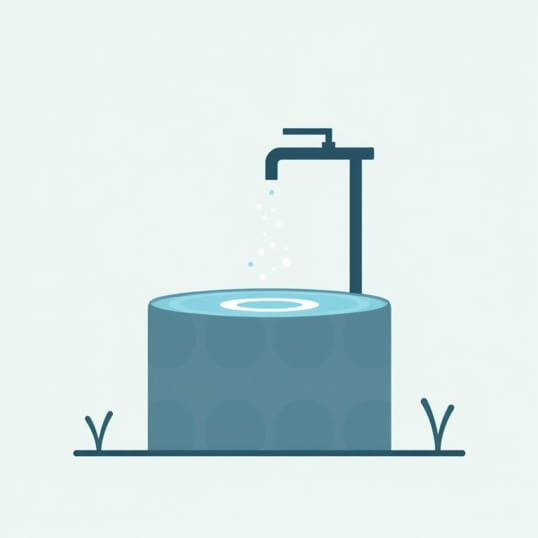
How To Chlorinate A Well With A Jet Pump
Well water is a valuable resource for many households, especially in rural areas where municipal water is not available. However, over time, bacteria, iron, and other contaminants may build up in a well system. Chlorination is one of the most effective ways to disinfect a well and ensure safe drinking water. When using a jet pump, the process requires some specific steps because of the way water is drawn from the well and circulated into the plumbing. Knowing how to chlorinate a well with a jet pump is essential for maintaining water quality, preventing unpleasant odors, and protecting your family’s health.
Understanding the Basics of Well Chlorination
Chlorination is the process of adding chlorine bleach to well water to kill bacteria and sanitize the system. This method is typically done after routine maintenance, pump installation, or when water tests indicate contamination. When a jet pump is part of the system, chlorination must be carefully managed because the pump sits above ground and pulls water through suction rather than submerging directly into the well.
The goal is to ensure chlorine reaches all parts of the well, the pump, and the household plumbing system. By circulating the chlorine solution, the entire water supply is disinfected, preventing harmful organisms such as coliform bacteria or E. coli from spreading.
Materials Needed to Chlorinate a Well with a Jet Pump
Before beginning the chlorination process, it is important to gather the necessary supplies. This prevents interruptions once the treatment starts.
- Household bleach (unscented, plain chlorine bleach with no additives)
- A clean bucket (5 gallons or larger)
- A garden hose long enough to reach from an outdoor faucet to the well
- Protective gloves and eye protection
- Measuring cup or container for bleach
- Test strips or a water testing kit for chlorine levels
Calculating the Amount of Chlorine Needed
The amount of bleach required depends on the depth and diameter of the well. For most residential wells, between ½ gallon and 1 gallon of regular household bleach is sufficient. As a general guideline, use about 3 cups of bleach for every 100 feet of water depth in a standard 6-inch diameter well. Using too much chlorine may cause strong odors and require longer flushing, while too little may not fully disinfect the water system.
Steps to Chlorinate a Well with a Jet Pump
The process of chlorinating a well connected to a jet pump involves several steps to ensure thorough disinfection.
Step 1 Turn Off the Power
Before handling the well or pump system, turn off the electrical power to the jet pump. This prevents accidents and ensures safety during the process.
Step 2 Remove the Well Cap
Carefully remove the well cap or access point. This allows you to pour chlorine solution directly into the well casing. Make sure not to contaminate the inside with dirt or debris while working.
Step 3 Mix Chlorine Solution
In a clean bucket, mix the measured bleach with several gallons of water. This diluted solution helps distribute chlorine more evenly and reduces the risk of damaging well components with concentrated bleach.
Step 4 Pour Solution into the Well
Slowly pour the chlorine mixture into the well casing. After pouring, allow a few minutes for the chlorine to settle into the water column.
Step 5 Recirculate Water with a Hose
Attach a garden hose to an outdoor faucet connected to the well system. Run the water back into the well opening, allowing the chlorinated water to circulate. This helps spread the solution throughout the well and draws it into the jet pump system.
Step 6 Run Water Through Indoor Fixtures
Go inside the house and open each faucet one at a time until you smell chlorine. This ensures the solution has reached every part of the plumbing system, including sinks, showers, toilets, and appliances connected to water lines.
Step 7 Let the System Sit
After confirming chlorine is present throughout the system, turn off all faucets and allow the solution to remain in the well and pipes for at least 6 to 12 hours. For best results, let it sit overnight. This contact time ensures bacteria are fully eliminated.
Step 8 Flush the System
Once the waiting period is complete, begin flushing the system by running water through an outdoor hose until the chlorine smell decreases. Afterward, open indoor faucets and continue flushing until chlorine odor is gone. Be cautious not to discharge large amounts of chlorinated water into septic systems or sensitive plants, as it can cause damage.
Testing the Water After Chlorination
After flushing, it is essential to test the water to confirm the chlorine levels have dropped and the system is safe for use. Water should have little to no chlorine odor, and bacteria tests should show negative results. A professional water test can confirm that the chlorination process was successful.
When to Chlorinate a Well
Knowing when to chlorinate a well is just as important as knowing how to do it. Regular disinfection helps maintain safe drinking water. Common situations that require chlorination include
- After installing a new well or pump system
- Following maintenance or repairs on the well or plumbing
- If the water tests positive for bacteria
- When there is a noticeable change in taste, odor, or color
- At least once a year as a preventive measure
Precautions to Take During Chlorination
While chlorinating a well is effective, it requires caution to avoid risks.
- Always use unscented bleach without additives, as perfumes or cleaners may contaminate water.
- Wear gloves and eye protection to avoid irritation from chlorine.
- Do not use the water for drinking or cooking until it is thoroughly flushed and tested.
- Avoid flushing chlorinated water into septic tanks or gardens to prevent harm.
Common Mistakes to Avoid
Some mistakes can reduce the effectiveness of chlorination or cause issues in the water system. These include
- Using too little bleach, leaving bacteria alive in the well.
- Using too much bleach, leading to strong chlorine odors and longer flushing times.
- Not circulating the solution with a hose, which leaves some areas untreated.
- Failing to let the solution sit long enough before flushing.
- Skipping water testing after chlorination.
Benefits of Chlorinating a Well with a Jet Pump
Regular chlorination provides multiple benefits for households relying on jet pumps for their well water
- Improves water safety by killing harmful bacteria and pathogens.
- Removes foul odors caused by iron bacteria or sulfur-reducing bacteria.
- Prevents buildup in plumbing and fixtures, extending their lifespan.
- Gives peace of mind knowing the water supply is clean and safe.
Learning how to chlorinate a well with a jet pump is an important skill for homeowners who depend on private well water. By following proper steps calculating the right amount of bleach, circulating the solution through the system, allowing adequate contact time, and flushing thoroughly you can ensure your water remains safe for drinking and daily use. Regular disinfection not only protects your health but also extends the life of your water system, making it a reliable solution for long-term well maintenance.