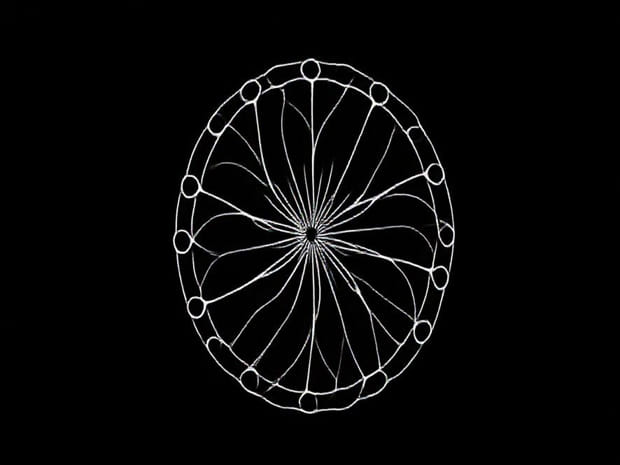
How To Draw Spirograph
Drawing a spirograph is a fascinating way to combine geometry, creativity, and patience. The spirograph is known for its hypnotic circular patterns, formed by tracing curves within interlocking gears. These intricate designs can range from simple loops to complex, layered arrangements that look like mandalas or floral shapes. Learning how to draw spirograph patterns by hand or with simple tools allows you to develop both artistic skill and mathematical appreciation. It is an enjoyable activity for students, hobbyists, and anyone who enjoys creating symmetrical and decorative art.
What is a Spirograph?
A spirograph is a geometric drawing tool that produces complex mathematical curves known as hypotrochoids and epitrochoids. Originally popularized as a toy in the 1960s, the spirograph kit usually includes plastic gears, rings, and pens. By inserting a pen into a hole on a smaller gear and rotating it around a larger ring, you create looping patterns that repeat symmetrically. These unique shapes have been used not only in recreational art but also as decorative elements in design and teaching aids in mathematics.
Basic Tools Needed
To start creating spirograph drawings, you will need a few basic materials. While official spirograph sets are available, you can also improvise with circular objects and careful freehand drawing.
- Paper A smooth surface that can handle pen ink without smudging.
- Pens or markers Fine tips work best for clean and detailed lines.
- Ruler or compass Helpful if you want to create your own gear-like guides.
- Spirograph kit Optional but recommended for precise and consistent patterns.
- Tape To hold the paper or gear in place to prevent slipping.
Step-by-Step Guide to Drawing Spirograph Patterns
Creating a spirograph involves understanding the movement of circles within circles. Each step adds structure to the final pattern, and experimenting with different positions creates endless variety.
Step 1 Set Up the Base Ring
Place the large circular ring or guide on your paper and secure it with tape. This will serve as the outer boundary for the smaller gear to rotate within or around. Keeping the ring stable is important to avoid uneven patterns.
Step 2 Choose a Smaller Gear
Select a smaller circular gear with multiple holes. Each hole represents a different distance from the center, which will influence the size and shape of the loops. The closer the hole is to the center, the tighter the design will appear. Placing the pen in holes farther from the center creates larger, more open curves.
Step 3 Start Tracing
Insert your pen into the chosen hole of the small gear. Hold the pen firmly but gently, then begin rotating the gear around the inner or outer edge of the large ring. Maintain steady pressure and avoid lifting the pen as the gear moves. The curves will naturally emerge as the gear completes its rotation.
Step 4 Experiment with Positions
To create more complex spirograph designs, change the hole placement and repeat the process. Overlaying different patterns with varying colors results in striking, layered effects. The combinations are nearly infinite, making each spirograph unique.
Step 5 Add Finishing Touches
After the main spirograph pattern is complete, you can decorate it further with shading, highlights, or additional geometric shapes. Some artists like to turn their spirographs into flowers, mandalas, or abstract designs by adding personal touches.
Understanding the Geometry Behind Spirograph
The beauty of a spirograph lies in its mathematical foundation. The shapes created are not random but are generated by the rolling motion of one circle inside or outside another. These are called trochoid curves. By adjusting the gear sizes and hole placements, you can manipulate the frequency and amplitude of the loops, resulting in diverse outcomes. Understanding this geometric principle can help you predict how the final design will look before you even begin drawing.
Types of Spirograph Curves
- HypotrochoidFormed when a circle rolls inside a larger circle.
- EpitrochoidFormed when a circle rolls on the outside of a larger circle.
- RoulettesGeneral curves made by tracing a point on a rolling circle.
Creative Variations of Spirograph Art
While traditional spirograph patterns are mesmerizing on their own, many artists expand on the concept to create personalized artworks. Adding color gradients, experimenting with metallic pens, or combining spirograph curves with freehand illustrations can produce stunning results. Spirograph drawings can also serve as backgrounds, borders, or focal points in mixed media artwork.
Ideas to Try
- Use multiple colors in one design to highlight overlapping loops.
- Combine spirograph curves with floral elements for mandala-style art.
- Create abstract art by layering different spirograph sizes.
- Experiment with black paper and metallic gel pens for a striking effect.
- Turn spirograph patterns into greeting cards or decorative posters.
Tips for Perfecting Your Spirograph
Like any artistic skill, drawing spirographs improves with practice and experimentation. Paying attention to details can help achieve cleaner, more symmetrical results.
- Keep your paper firmly in place to avoid slipping.
- Use light pressure to prevent tearing the paper while tracing.
- Try different hole positions to discover unexpected patterns.
- Switch pen colors without moving the gear for smooth transitions.
- Be patient intricate designs take time to complete.
Using Spirograph for Learning
Spirograph drawing is more than just an art form; it is also an educational tool. Teachers often use it to demonstrate concepts of geometry, symmetry, and patterns. Students can visually grasp how circles interact, how ratios affect outcomes, and how mathematical principles translate into beautiful designs. This makes spirograph a fun way to connect creativity with mathematics.
Learning how to draw spirograph designs blends precision with imagination. From setting up the base ring to experimenting with gears and colors, the process is both systematic and creative. Every spirograph drawing is unique, shaped by mathematical rules but enhanced by artistic choices. Whether you are a beginner seeking a relaxing hobby or an experienced artist exploring new techniques, mastering spirograph drawing offers endless opportunities for beauty and innovation.
With practice, patience, and curiosity, you can transform simple geometric principles into intricate artworks that captivate the eye. The journey of drawing spirographs is a reminder that mathematics and art are deeply connected, and when combined, they produce patterns that are as enjoyable to create as they are to admire.