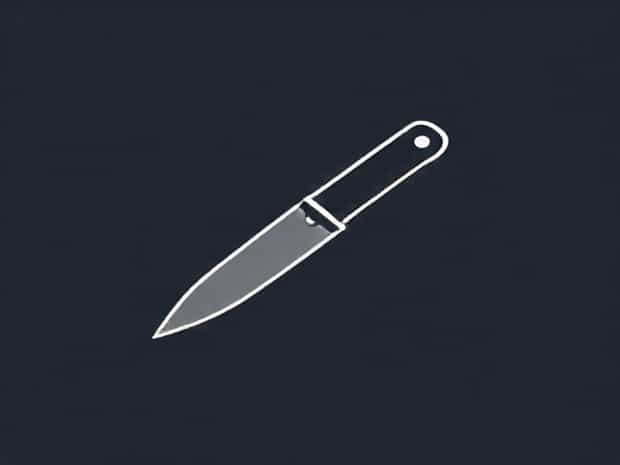
How To Change Penknife Blade
Changing the blade on a penknife is an essential skill for anyone who uses a folding knife regularly. Whether you use a penknife for everyday tasks, outdoor activities, or hobbies like woodworking, keeping the blade sharp and functional is crucial for safety and efficiency. Over time, knives become dull, chipped, or worn, making it necessary to replace the blade. Knowing how to properly change a penknife blade ensures that you maintain your tool in good condition while minimizing the risk of accidents during the process. This guide will walk you through the steps, safety tips, and best practices for changing a penknife blade effectively.
Understanding Your Penknife
Before attempting to change the blade, it is important to understand the type of penknife you own. Penknives come in various designs, such as slip-joint, locking, and multi-tool knives, each requiring slightly different procedures for blade replacement. Familiarizing yourself with your knife’s mechanism and blade attachment system is crucial for a smooth and safe blade change.
Types of Penknife Blades
- Standard folding bladesThese are common in traditional penknives and are easy to replace with the right tools.
- Locking bladesThese knives have a locking mechanism that keeps the blade secure when open. Changing the blade requires disengaging the lock carefully.
- Multi-tool bladesSome penknives feature multiple tools, each with its own blade. Replacement may require removing additional components.
Safety Precautions
Safety is the top priority when changing a penknife blade. Even a small folding knife can cause serious injury if handled improperly. Before beginning, ensure you are working in a well-lit area and on a stable surface. Always wear cut-resistant gloves if possible, and keep your hands away from the sharp edge of the blade during removal and installation.
Tools You Might Need
- Screwdriver or torx driver (depending on your penknife screws)
- Replacement blade compatible with your penknife
- Small pliers (for difficult-to-remove blades)
- Cut-resistant gloves
- Clean cloth for wiping the knife handle and blade
Step-by-Step Guide to Changing a Penknife Blade
Step 1 Open and Secure the Knife
Fully open the penknife and engage the blade lock if available. This prevents the blade from folding during the replacement process. If your knife has a slip-joint mechanism, ensure the blade is in a stable position and use caution to prevent accidental closure.
Step 2 Remove Screws or Pins
Most modern penknives secure the blade with screws or pins. Use the appropriate screwdriver or tool to carefully remove these fasteners. Place the screws or pins in a small container so they are not lost. If the screws are tight or corroded, apply gentle pressure and avoid forcing them to prevent damage to the knife handle.
Step 3 Carefully Remove the Old Blade
Once the screws or pins are removed, gently lift the old blade out of the handle. Pay attention to the blade orientation and positioning, as this will help when installing the new blade. Handle the blade by the spine, not the sharp edge, to avoid cuts. If the blade is stuck, use pliers carefully, but avoid excessive force that could damage the knife.
Step 4 Clean the Handle and Pivot
Before installing the new blade, take the time to clean the handle, pivot, and any other components. Use a cloth to remove dirt, rust, or debris. This ensures smooth operation and prolongs the life of the new blade. You may also apply a small drop of lubricating oil to the pivot point for better blade movement.
Step 5 Insert the New Blade
Align the new blade with the handle and pivot point. Make sure the orientation matches the original blade, with the sharp edge facing outward. Insert the screws or pins carefully and tighten them gradually. Do not overtighten, as this can restrict blade movement or damage the knife mechanism.
Step 6 Test the Blade
Once the new blade is installed, test it by opening and closing the knife several times. Ensure it moves smoothly and locks securely if your knife has a locking mechanism. If the blade feels loose or stiff, adjust the screws slightly until the desired tension is achieved.
Maintaining Your Penknife
Regular maintenance is essential for prolonging the life of your penknife and ensuring safe operation. After changing the blade, periodically clean the knife, lubricate the pivot, and check for any signs of wear or damage. Sharp blades are safer and more effective, so consider honing or replacing the blade as needed.
Tips for Safe Blade Changes
- Always work in a well-lit, clutter-free area.
- Use the correct replacement blade for your specific knife model.
- Wear protective gloves to reduce the risk of cuts.
- Keep children and pets away from the work area.
- Take your time and do not rush the process.
- Regularly inspect screws, pins, and the handle for wear.
Common Mistakes to Avoid
Many knife users make mistakes when changing a blade, which can lead to injury or damage. Avoid trying to force a stuck blade out without proper tools, over-tightening screws, or using an incompatible replacement blade. Always follow the steps carefully and consult the manufacturer’s instructions if available. Neglecting safety precautions or skipping the cleaning step can also reduce the knife’s performance and longevity.
Learning how to change a penknife blade is an important skill that combines safety, precision, and proper tool handling. By understanding your knife, preparing the right tools, following step-by-step procedures, and taking safety precautions, you can replace the blade effectively and maintain your knife for long-term use. Regular maintenance and careful handling of both the knife and replacement blades ensure a smooth, functional tool that is safe for everyday use. With practice, changing a penknife blade becomes a simple and routine task, allowing you to keep your knife in top condition for all your cutting needs.