Easy Drawing Of Volcanic Eruption
Drawing a volcanic eruption can seem intimidating at first, but it can be made easy with the right approach and techniques. Volcanic eruptions are dramatic natural events, full of energy, movement, and vivid contrasts. They offer a fascinating subject for artists of all ages and skill levels. With simple shapes, effective use of color, and attention to perspective, it is possible to create an engaging drawing that captures the explosive power and beauty of a volcano. Easy drawing of volcanic eruption focuses on breaking down complex elements into manageable steps, allowing beginners and hobbyists to create compelling artwork without being overwhelmed by details.
Understanding the Volcanic Structure
Before starting an easy drawing of a volcanic eruption, it is important to understand the basic structure of a volcano. A volcano typically has a conical shape with a crater at the top. Magma rises from beneath the earth’s surface and erupts as lava, ash, and gases. The eruption can vary in intensity, from slow lava flows to explosive eruptions. Knowing the anatomy of a volcano its cone, crater, lava, smoke, and ash clouds helps in planning the drawing and placing elements accurately on the page.
Choosing the Perspective
Perspective plays a key role in making a volcanic eruption drawing more dynamic and realistic. For an easy drawing, a simple side view of the volcano often works best. This allows the artist to clearly show the shape of the volcano and the flow of lava. Another option is a slightly angled view to add depth, showing both the slope of the mountain and the eruption plume. Deciding on the perspective early helps to organize the drawing and guide the placement of key elements such as lava streams, rocks, and smoke clouds.
Basic Shapes and Outlines
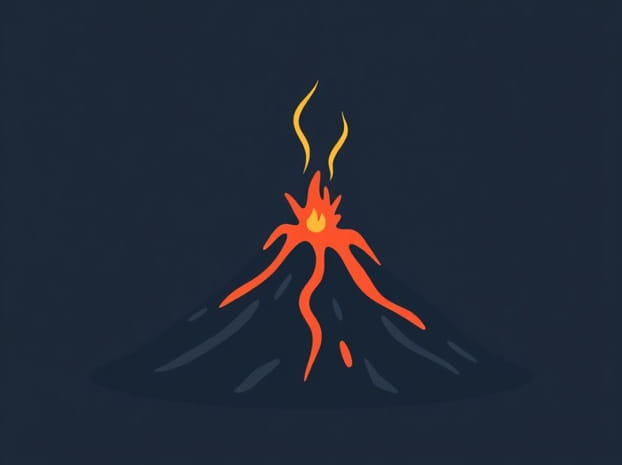
Using basic shapes is an effective method for creating an easy drawing of volcanic eruption. Start with a triangle or cone shape for the volcano. Add a circular or oval shape at the top for the crater. From the crater, sketch the lava flow using wavy lines that descend along the sides of the volcano. Clouds of ash and smoke can be represented with fluffy, irregular shapes extending upward. Breaking the scene into simple forms helps beginners manage complexity and gradually build the drawing without frustration.
Adding Details Gradually
Once the basic shapes are established, details can be added in stages. Begin with lava flows, adding texture lines to indicate movement and molten rock. Rocks and boulders near the eruption can be drawn using small irregular shapes along the slopes. Smoke and ash clouds can be enhanced by layering rounded lines and shading lightly to create depth. Gradual detailing prevents the drawing from becoming messy and allows for corrections as you refine the artwork. Using a step-by-step approach ensures the eruption looks energetic and realistic without being overly complicated.
Using Color Effectively
Color is essential in bringing a volcanic eruption drawing to life. Red, orange, and yellow can be used for lava, blending together to show heat and motion. Dark gray or black can represent ash clouds and smoke, while brown and gray tones indicate the rocky surface of the volcano. Using gradients and blending techniques helps make the lava appear molten and glowing. Even in an easy drawing, paying attention to color contrast enhances the overall impact and captures the intensity of the eruption.
Shading and Light
Shading adds volume and realism to a volcanic eruption drawing. Shadows can be added along the sides of the volcano to show depth and shape. Light sources can be implied from the glowing lava, casting highlights on nearby rocks and smoke clouds. Simple hatching, cross-hatching, or soft pencil shading can create a sense of dimension. Shading does not need to be intricate; even basic light and dark contrasts help the drawing appear more dynamic and visually interesting.
Incorporating the Surrounding Environment
An easy drawing of volcanic eruption can be enhanced by including elements of the surrounding environment. Trees, distant mountains, or rivers can be drawn with minimal detail to suggest the setting. Adding these elements provides context and scale, making the volcano appear larger and more dramatic. Including environmental features also offers opportunities for creative composition, such as showing lava flowing into a forest or ash clouds drifting over a valley. Simple silhouettes and basic shapes work well for this purpose, keeping the drawing manageable while enriching the scene.
Dynamic Effects
Capturing movement is key to depicting the energy of a volcanic eruption. Lava flows, erupting rocks, and ascending smoke clouds all convey motion. Using curved lines for lava streams and wavy or spiraling lines for smoke helps create a sense of fluidity. Small dots or jagged lines can represent falling debris or ash. Dynamic effects give life to the drawing, making it more than just a static image and allowing viewers to feel the power and force of the eruption.
Tips for Making Drawing Easy
- Start with light pencil lines to outline shapes, allowing corrections before adding detail.
- Focus on simple shapes and avoid overcomplicating small features.
- Use reference images to understand the flow of lava and shape of smoke clouds.
- Layer details gradually, starting from large shapes to small textures.
- Experiment with basic coloring and shading to bring depth without needing advanced techniques.
- Keep perspective simple and consistent to avoid visual confusion.
- Take breaks and review the drawing to ensure clarity and balance.
Encouraging Creativity
While the steps above help make drawing a volcanic eruption easy, adding creative touches can make the artwork unique. Artists can play with exaggerated lava colors, imaginative smoke shapes, or stylized volcanic forms. Cartoonish interpretations or abstract patterns can also transform a simple drawing into a fun and expressive piece. Encouraging creativity ensures that even easy drawings become personalized and engaging, allowing the artist to develop style and confidence.
Creating an easy drawing of a volcanic eruption is achievable by breaking the process into simple steps, understanding basic volcanic structure, and gradually adding details, color, and shading. Using simple shapes for the volcano, crater, lava, and smoke, combined with effective use of color and perspective, allows both beginners and more experienced artists to capture the drama and beauty of an erupting volcano. By incorporating surrounding environmental elements and dynamic effects, the drawing becomes more lively and immersive. Emphasizing creativity and personal interpretation ensures that the final artwork is not only easy to create but also visually captivating, offering an exciting opportunity to explore the power of nature through art.