How To Tape Drywall
Taping drywall is an essential step in creating smooth, seamless walls and ceilings in any construction or renovation project. Properly applying drywall tape not only strengthens joints but also ensures that the finished surface looks professional and free of cracks or visible seams. Whether you are a DIY enthusiast or a professional contractor, mastering the techniques of drywall taping can save time, reduce frustration, and result in a polished final product. Understanding the tools, materials, and step-by-step process is crucial for achieving the best results and avoiding common mistakes that can compromise the appearance and durability of your walls.
Materials and Tools Needed for Taping Drywall
Before beginning the drywall taping process, gather all necessary materials and tools. Having everything on hand ensures a smooth workflow and prevents interruptions that could affect the quality of your work.
Essential Materials
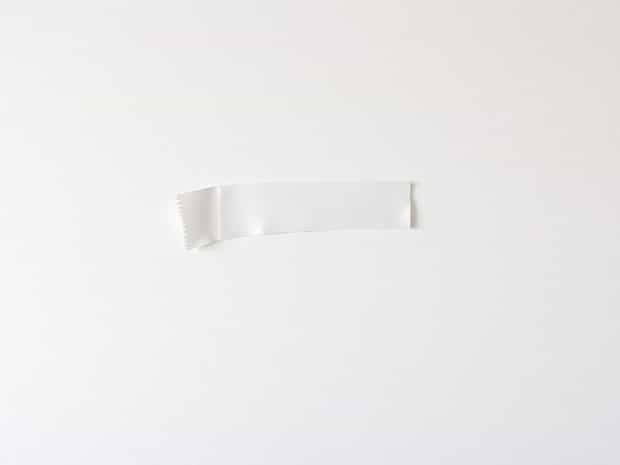
- Drywall TapeAvailable in paper and mesh varieties. Paper tape is traditional and strong, ideal for joints, while mesh tape is self-adhesive and easier for beginners.
- Joint CompoundAlso called mud, this is used to embed the tape and create a smooth surface. Pre-mixed or powder forms are available.
- Drywall Screws or NailsNeeded to secure drywall sheets properly before taping.
Essential Tools
- Taping KnifeA flexible knife, usually 6-12 inches wide, for spreading joint compound evenly over seams and tape.
- Hawk or Mud PanHolds joint compound within easy reach while taping.
- Sanding ToolsSanding blocks or poles with fine-grit sandpaper for smoothing dried joint compound.
- Corner ToolsFor inside corners, specialized corner trowels or knives help achieve a clean finish.
Preparing the Drywall Surface
Proper surface preparation is crucial for successful drywall taping. Start by checking that all drywall sheets are securely fastened to studs with screws or nails. The heads should be slightly recessed without breaking the paper surface. Remove any dust, debris, or protruding screws, as these can interfere with the adhesion of the tape and joint compound. For inside corners, ensure the edges of the drywall sheets are cut straight and meet cleanly, as this simplifies taping and reduces the need for excessive compound.
Choosing the Right Drywall Tape
Selecting the correct type of tape affects the durability and appearance of the finished wall. Paper tape is stronger and preferred for vertical seams and butt joints, but it requires a thin layer of joint compound underneath to embed properly. Mesh tape is self-adhesive, easier to handle, and reduces the likelihood of bubbles or wrinkles, making it suitable for beginners and repairs.
Applying Drywall Tape to Seams
Once the surface is prepared and the tape is selected, begin applying tape to the seams. The technique differs slightly depending on whether you use paper or mesh tape.
Paper Tape Application
- Apply a thin layer of joint compound along the seam using a 6-inch taping knife.
- Press the paper tape into the mud, centering it over the joint.
- Smooth the tape gently with the knife, removing air bubbles and excess compound.
- Apply an additional thin layer of compound over the tape to cover it completely.
Mesh Tape Application
- Position the self-adhesive mesh tape directly over the seam.
- Press it firmly into place, ensuring it adheres without wrinkles.
- Cover the mesh tape with a layer of joint compound using a taping knife, spreading evenly beyond the edges.
Taping Corners
Inside corners and outside corners require special attention to ensure clean, straight lines. For inside corners, fold the tape along its center crease and press it into the corner, then embed it with joint compound using a corner knife. For outside corners, metal or plastic corner beads can be attached first, followed by embedding with joint compound and smoothing the edges for a sharp, durable finish.
Applying Additional Coats of Joint Compound
After the initial layer of compound is dry, usually 24 hours, apply additional coats to build up the surface and blend seams. Each coat should be slightly wider than the previous one to feather the edges and create a seamless appearance. Lightly sand between coats with fine-grit sandpaper to remove ridges or imperfections. Typically, two to three coats are sufficient for a smooth finish.
Sanding and Finishing
Once all coats are dry, sand the entire area to achieve a smooth, even surface. Use a sanding block or pole with fine-grit sandpaper, being careful not to damage the drywall paper. After sanding, wipe down the wall to remove dust. At this point, the drywall is ready for priming and painting or applying other finishes.
Tips for Successful Drywall Taping
- Work in small sections to maintain control over the joint compound and prevent it from drying too quickly.
- Keep your taping knife clean to avoid embedding debris into the compound.
- Feather the edges of each coat to reduce sanding time and create a seamless finish.
- Use proper lighting while taping and sanding to identify imperfections early.
- Practice patience, as rushing the drying process or skipping steps can lead to cracks or uneven surfaces.
Common Mistakes to Avoid
Many beginners make avoidable mistakes that compromise the finish. Common errors include
- Applying too much joint compound, causing excessive sanding and longer drying times.
- Not embedding tape properly, which can lead to bubbles or separation.
- Skipping sanding or using coarse sandpaper, resulting in visible seams.
- Failing to clean tools and surfaces, leading to rough patches or debris in the compound.
Learning how to tape drywall correctly is essential for achieving professional-looking walls and ceilings. By understanding the tools, materials, and techniques required, you can strengthen seams, prevent cracks, and create a smooth, polished surface. From selecting the right tape to applying multiple coats of joint compound and proper sanding, each step contributes to the overall quality of the finished wall. Paying attention to details, practicing patience, and avoiding common mistakes ensures that your drywall project looks clean, seamless, and ready for painting or finishing. Mastering drywall taping empowers both DIY enthusiasts and professional contractors to deliver high-quality results with confidence and efficiency.