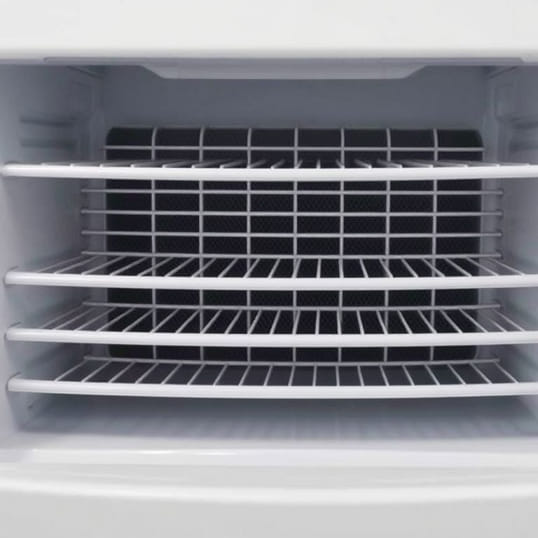
How To Clean Evaporator Coil Without Removing
Cleaning the evaporator coil without removing it is an essential maintenance task for homeowners and HVAC technicians aiming to keep air conditioning systems running efficiently. Over time, evaporator coils accumulate dust, dirt, and debris, which can reduce airflow, decrease cooling efficiency, and even lead to system malfunctions. Performing a thorough cleaning without dismantling the unit requires careful planning, the right tools, and proper techniques to ensure safety and effectiveness. Understanding how to clean evaporator coils in place helps prolong the life of the system, improves energy efficiency, and maintains indoor air quality for a healthier living environment.
Understanding the Evaporator Coil
The evaporator coil is a critical component of an air conditioning system, responsible for absorbing heat from the indoor air. It typically consists of metal tubing wrapped with thin metal fins, allowing efficient heat transfer. As air passes over the coil, the refrigerant inside absorbs heat, cooling the air before it circulates back into living spaces. Because the coil is exposed to airflow, it tends to accumulate dust, mold, and other ptopics over time, making regular cleaning essential.
Why Cleaning Without Removal Is Beneficial
- Minimizes disruption to the HVAC system, as disassembly is not required.
- Reduces the risk of damaging delicate fins or tubes during removal.
- Saves time and effort, especially for units installed in tight or hard-to-reach spaces.
- Maintains system efficiency by restoring proper airflow and heat transfer.
- Improves indoor air quality by removing accumulated dust and contaminants.
Safety Precautions Before Cleaning
Cleaning an evaporator coil in place involves exposure to electricity, refrigerant components, and cleaning chemicals. Observing safety precautions ensures that the process is effective without causing harm to yourself or the system.
- Turn off the power supply to the HVAC unit at the breaker to prevent electrical hazards.
- Wear protective gear such as gloves, goggles, and a dust mask to protect against debris and cleaning agents.
- Ensure adequate ventilation if using chemical cleaners to avoid inhaling fumes.
- Read and follow manufacturer instructions for any cleaning products used.
- Avoid bending or damaging the coil fins, as this can reduce efficiency and require professional repair.
Tools and Materials Needed
Cleaning the evaporator coil without removing it requires specific tools and materials to achieve a thorough result. Having the right equipment ensures efficiency and minimizes potential damage.
- Soft-bristle brush or coil cleaning brush to gently remove dust and debris.
- Vacuum cleaner with a narrow nozzle attachment for suctioning loose ptopics.
- Foaming coil cleaner designed for use on evaporator coils.
- Spray bottle or hose with adjustable nozzle for rinsing the coil.
- Fin comb to straighten any bent fins for optimal airflow.
- Old towels or plastic sheeting to catch debris and cleaning runoff.
Step-by-Step Guide to Cleaning the Evaporator Coil Without Removing
1. Power Off and Access the Coil
Begin by switching off the HVAC system and ensuring there is no electrical power. Remove the access panel or grille covering the evaporator coil. Place towels or a tray underneath to catch any dirt or cleaning solution runoff.
2. Remove Loose Debris
Use a soft-bristle brush or vacuum to remove loose dust, lint, and debris from the coil’s surface. Brush gently along the fins in the direction of airflow to avoid bending them. A thorough initial cleaning ensures that the chemical cleaner will work more effectively.
3. Apply Foaming Coil Cleaner
Spray a foaming coil cleaner evenly across the coil, following the manufacturer’s instructions. The foam penetrates between the fins, loosening dirt, grime, and biological buildup such as mold or algae. Allow the foam to sit for the recommended duration to maximize cleaning effectiveness.
4. Rinse or Wipe Clean
Depending on the type of coil cleaner used, you may need to rinse the coil with water or wipe it down with a damp cloth. For indoor coils, avoid excessive water to prevent leaks or damage. Use a spray bottle with controlled pressure or a damp cloth to carefully remove the cleaning solution and loosened debris.
5. Straighten Bent Fins
After cleaning, inspect the fins for any bending. Use a fin comb to straighten them gently. Proper fin alignment ensures optimal airflow, which is essential for efficient heat transfer and cooling performance.
6. Dry and Reassemble
Allow the coil to dry completely before restoring power. This prevents short circuits and ensures that the coil is ready for efficient operation. Once dry, replace the access panel or grille, and remove any towels or sheeting used during the cleaning process.
Tips for Maintaining a Clean Evaporator Coil
Regular maintenance helps prolong the life of the evaporator coil and maintains HVAC efficiency. Implement the following tips
- Clean or replace air filters monthly to reduce dust buildup on the coil.
- Schedule routine inspections to detect early signs of dirt accumulation or damage.
- Keep the surrounding area free from dust and debris to minimize contamination.
- Use coil cleaner every 6-12 months as part of routine maintenance, depending on usage.
- Ensure proper airflow and adequate refrigerant levels to reduce strain on the coil.
Common Mistakes to Avoid
Cleaning the evaporator coil in place can be effective if done correctly, but mistakes can reduce efficiency or cause damage
- Using high-pressure water, which can bend fins or damage electrical components.
- Skipping safety precautions, leading to electrical hazards or chemical exposure.
- Overusing coil cleaner, leaving residue that may affect airflow.
- Failing to remove initial loose debris, reducing the cleaner’s effectiveness.
- Ignoring bent or damaged fins, which can reduce cooling efficiency even after cleaning.
When to Seek Professional Help
Although cleaning evaporator coils in place is manageable for many homeowners, certain situations require professional intervention
- Severe buildup or mold that cannot be removed with standard cleaning.
- Leaks or damage to the coil fins, tubing, or refrigerant lines.
- Complex HVAC systems with difficult access or special cleaning requirements.
- Persistent performance issues despite regular coil maintenance.
Cleaning the evaporator coil without removing it is a practical and efficient way to maintain your HVAC system’s performance. By following proper safety precautions, using the right tools and cleaning agents, and performing regular maintenance, you can keep your system operating efficiently and improve indoor air quality. Removing dust, dirt, and biological buildup ensures that airflow remains optimal, cooling is consistent, and energy consumption is minimized. Regular attention to coil cleanliness helps prevent costly repairs and extends the lifespan of the HVAC system.
By incorporating routine evaporator coil cleaning into your maintenance schedule, homeowners can enjoy a comfortable living environment while avoiding the inefficiencies and potential health hazards caused by dirty coils. With careful technique and attention to detail, cleaning without removing the coil becomes a manageable and highly beneficial practice for every HVAC system owner.