How To Screw Extractor
Using a screw extractor is an essential skill for anyone who frequently works with tools, whether in a home workshop, on construction projects, or in automotive repair. Stripped, broken, or damaged screws can be incredibly frustrating and difficult to remove using standard tools. A screw extractor allows you to safely and efficiently remove these screws without causing further damage to the material or surrounding components. Understanding the proper technique, choosing the correct extractor, and following safety guidelines can make this task much easier and prevent costly mistakes. This topic will provide detailed guidance on how to use a screw extractor effectively, including tips, precautions, and methods for different types of screws and materials.
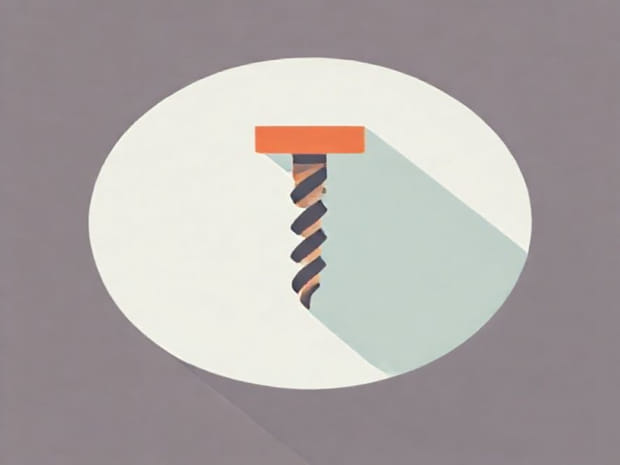
What is a Screw Extractor?
A screw extractor is a specialized tool designed to remove damaged, stripped, or broken screws that cannot be removed using a regular screwdriver. These extractors typically have a reverse-threaded design, which allows them to bite into the damaged screw when turned counterclockwise. Screw extractors come in various sizes and types to accommodate different screw sizes, materials, and situations, making them versatile tools for both professional and DIY applications.
Types of Screw Extractors
- Spiral Flute Extractors These are the most common type and work by embedding into the damaged screw as it is turned counterclockwise.
- Straight Flute Extractors These have straight edges and are often used for harder screws or when the screw head is severely damaged.
- Easy-Out Extractors Usually part of a kit, these are designed for small screws and can be used with hand tools or drills.
Preparing to Use a Screw Extractor
Before attempting to use a screw extractor, preparation is crucial. This includes selecting the appropriate extractor, ensuring the screw is accessible, and gathering necessary tools such as a drill, center punch, or pliers. Proper preparation increases the chances of successfully removing the screw without causing additional damage.
Choosing the Right Size Extractor
Selecting the correct size extractor is critical. Using an extractor that is too small may not grip the screw effectively, while one that is too large can break inside the screw, making removal even more difficult. Most extractor sets provide a guide to match the extractor size to the screw diameter, ensuring a secure fit for safe extraction.
Gathering Necessary Tools
- Drill Used to create a pilot hole in the damaged screw if needed.
- Center Punch Helps mark the screw to prevent the drill bit from slipping.
- Pliers Useful for gripping screws that are partially exposed.
- Lubricant Penetrating oil can make it easier to loosen rusted or stuck screws.
Step-by-Step Guide to Using a Screw Extractor
Using a screw extractor requires patience, precision, and careful execution. Following a step-by-step approach ensures that the damaged screw can be removed safely and effectively.
Step 1 Secure the Workpiece
Before attempting extraction, ensure the material or object containing the damaged screw is stable. Clamping the workpiece or securing it in a vise prevents movement and reduces the risk of injury or further damage.
Step 2 Drill a Pilot Hole
If the screw head is completely stripped, drilling a small pilot hole into the center of the screw can provide a guide for the extractor. Use a drill bit slightly smaller than the screw extractor itself. Mark the center with a center punch to prevent the bit from wandering.
Step 3 Insert the Screw Extractor
Carefully insert the screw extractor into the pilot hole. Ensure it fits snugly and is aligned properly. Spiral flute extractors are designed to bite into the screw when turned counterclockwise, so maintaining proper alignment is crucial to avoid slipping or breaking the extractor.
Step 4 Turn the Extractor
Using a T-handle or adjustable wrench, slowly turn the extractor counterclockwise. Apply steady pressure, allowing the reverse threads of the extractor to grip the damaged screw. Avoid forcing the tool, as this can break the extractor or damage surrounding material.
Step 5 Remove the Screw
Once the extractor has securely gripped the screw, continue turning until the screw begins to back out. If the screw is particularly stubborn, applying penetrating oil or gently tapping the extractor can help loosen it. Once the screw is free, remove both the screw and the extractor carefully.
Tips for Successful Screw Extraction
Several practical tips can make using a screw extractor easier and more effective. These tips help prevent common problems and improve the overall success rate of screw removal.
Use Lubrication
Applying a small amount of penetrating oil to rusted or stuck screws can significantly ease extraction. Allow the oil to soak for a few minutes before attempting to turn the extractor. This reduces friction and lowers the risk of breaking the tool.
Maintain Proper Alignment
Keeping the extractor aligned with the screw is crucial. Misalignment can cause the extractor to slip or break, making removal more difficult. Take time to position the tool accurately and ensure it is perpendicular to the screw surface.
Start Slowly
Turn the extractor slowly and steadily. Sudden force or rapid movement can damage both the extractor and the screw. Gradual pressure allows the tool to bite into the screw threads effectively.
Have Backup Tools Ready
Sometimes a screw extractor may not work on the first attempt, especially with extremely damaged screws. Keeping pliers, drills, and replacement extractors handy allows you to switch methods if necessary.
Dealing with Stubborn or Broken Screws
Some screws may be extremely difficult to remove, especially if they are corroded, embedded deeply, or partially broken. In these cases, additional techniques may be required.
Using Heat or Cold
Heating the surrounding material or cooling the screw can expand or contract the metal slightly, making it easier to remove. Care must be taken to avoid damaging heat-sensitive materials.
Using Pliers or Vice Grips
If part of the screw is exposed, pliers or vice grips can sometimes turn the screw manually. This method works best for screws with protruding heads and provides additional leverage when extractors are insufficient.
Safety Precautions
Working with screw extractors requires attention to safety. Always wear protective eyewear to guard against metal shavings or debris. Keep hands away from moving tools and maintain a secure grip on both the extractor and the workpiece. Using proper clamps and supports reduces the risk of accidents.
Using a screw extractor is an invaluable technique for anyone dealing with damaged or stripped screws. By understanding the types of extractors, preparing properly, and following a careful, step-by-step approach, screws can be removed safely and efficiently. Paying attention to alignment, applying lubrication, and using gradual pressure increases the chances of success while minimizing the risk of damage. With practice, this skill becomes a reliable part of any toolkit, saving time and frustration when encountering difficult screws. Following safety precautions and having backup tools ready ensures that screw extraction can be accomplished smoothly, even in challenging situations.
Mastering the use of a screw extractor not only improves repair efficiency but also protects both the material and tools from unnecessary damage. Whether for home projects, automotive repairs, or professional maintenance, understanding how to effectively use this tool is a practical skill that pays off in every situation.