Diy Hovercraft Leaf Blower
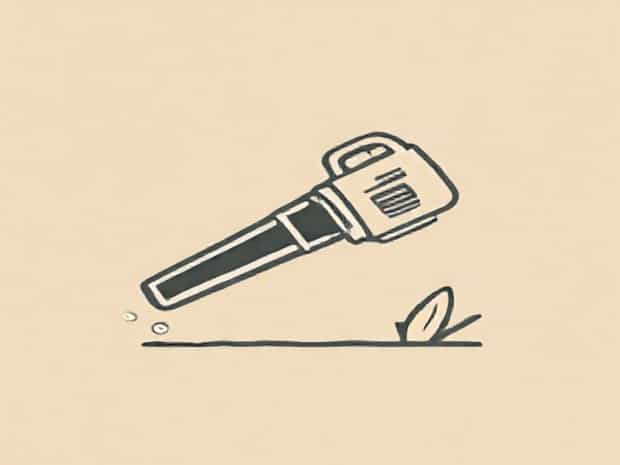
Building a DIY hovercraft using a leaf blower is a fascinating and educational project that combines basic principles of physics, engineering, and creativity. This type of hovercraft operates on the principle of air cushion technology, where a continuous flow of air from the leaf blower creates a thin layer of air beneath the craft, allowing it to glide over flat surfaces with minimal friction. Creating a hovercraft at home is not only a fun weekend project but also a practical way to understand the dynamics of lift, thrust, and air pressure in a hands-on environment. This topic will guide you through the process of constructing your own leaf blower-powered hovercraft, discussing materials, design considerations, safety precautions, and performance optimization.
Understanding the Basics of a Hovercraft
A hovercraft is a vehicle that can travel over multiple surfaces, including land, water, and ice, by riding on a cushion of air. The air cushion reduces friction significantly, making the craft move smoothly. In a DIY hovercraft powered by a leaf blower, the blower provides the necessary airflow to inflate a skirt or create a lift pad underneath the craft. Understanding how the lift and thrust mechanisms work is crucial before beginning the construction process.
Principle of Lift
The lift in a hovercraft is generated by the pressure difference between the air beneath the craft and the ambient air. When the leaf blower pushes air under the platform, the pressure rises, lifting the craft slightly above the ground. The hovercraft does not need wheels or tracks because it floats on this cushion of air. Achieving the right lift requires balancing the air pressure, the size of the craft, and the weight of the materials used.
Principle of Thrust
Thrust is required to move the hovercraft forward. While some DIY hovercrafts rely solely on the momentum of air escaping from the skirt for movement, others may include directional fans or the leaf blower itself can be slightly angled to create forward propulsion. Properly aligning the thrust direction is essential for smooth control and maneuverability.
Materials Needed
Constructing a DIY hovercraft with a leaf blower requires some basic materials that are generally easy to source. The primary components include
- Leaf BlowerThis serves as the main source of airflow. Gas-powered or electric leaf blowers can be used depending on availability and preference.
- Platform BasePlywood, lightweight plastic sheets, or even sturdy cardboard can be used as the main platform. The material must be rigid enough to support the weight of the blower and rider, yet light enough to be lifted by air pressure.
- Skirt MaterialDurable plastic sheets, vinyl, or heavy-duty trash bags are commonly used for the skirt. The skirt traps air beneath the craft, creating the cushion needed for lift.
- Fasteners and AdhesivesScrews, duct tape, hot glue, and zip ties help secure components together.
- Safety GearHelmets, knee pads, and gloves are recommended when testing the hovercraft to avoid injuries.
Step-by-Step Construction
Step 1 Preparing the Platform
Cut the platform base to the desired shape, commonly a circular or rectangular design. Ensure the edges are smooth to prevent damage to the skirt material. The platform should be light yet sturdy enough to hold the leaf blower securely. Mark the center point where the leaf blower will be positioned for optimal airflow.
Step 2 Attaching the Leaf Blower
Position the leaf blower so that its nozzle points downward toward the center of the platform. Secure it using clamps, straps, or brackets. Ensure that it is stable and cannot shift during operation. A tight seal around the blower outlet may improve efficiency by directing more air into the skirt.
Step 3 Constructing the Skirt
Cut the skirt material into a shape slightly larger than the platform to allow for inflation. Attach the skirt around the edges of the platform using duct tape or adhesive. Make small holes or gaps along the skirt edge to allow air to escape slowly, maintaining the cushion while preventing excessive pressure buildup.
Step 4 Testing Lift
Turn on the leaf blower and observe if the platform lifts off the ground. Adjust the skirt or the blower angle if the lift is uneven. For better stability, ensure the air distribution is uniform beneath the platform. Lightweight adjustments, such as adding small ridges or reinforcing the skirt, may improve overall performance.
Step 5 Adding Thrust and Control
Once lift is achieved, consider adding thrust for directional control. Slightly angling the leaf blower nozzle or attaching auxiliary fans can provide forward movement. For safety, it’s advisable to test movement on a smooth, open surface to avoid obstacles and maintain balance.
Safety Considerations
Building a DIY hovercraft is enjoyable, but safety must be a priority. Ensure the testing area is clear of debris, and always wear protective gear. Avoid operating near water unless the hovercraft is specifically designed for amphibious use. Monitor the leaf blower’s temperature, as prolonged use may lead to overheating. Finally, never exceed the recommended weight limit for your platform to prevent accidents.
Optimizing Performance
To improve the efficiency and control of your DIY hovercraft, consider these optimization tips
- Platform WeightUse lightweight materials for the platform to enhance lift and reduce strain on the leaf blower.
- Skirt DesignExperiment with different skirt shapes, such as circular or segmented, to find the most stable air cushion.
- Blower PowerHigher-powered leaf blowers can lift heavier platforms and provide better thrust.
- Surface ConsiderationSmooth, flat surfaces like concrete or hardwood floors maximize glide efficiency.
- Regular MaintenanceCheck the skirt, fasteners, and blower for wear and tear before each use to maintain optimal performance.
Applications and Educational Value
While a DIY leaf blower hovercraft is primarily a recreational project, it offers educational benefits. It teaches principles of physics such as air pressure, lift, and friction reduction. Students and hobbyists gain hands-on experience in design, engineering, and problem-solving. Moreover, understanding airflow management and material selection provides foundational knowledge applicable to robotics, aerodynamics, and other mechanical engineering disciplines.
Constructing a DIY hovercraft using a leaf blower is an exciting and instructive project that blends fun with learning. By understanding the principles of lift and thrust, carefully selecting materials, and following proper construction steps, hobbyists can create a functional hovercraft that glides smoothly over flat surfaces. Attention to safety, optimization, and testing ensures a successful project that not only entertains but also educates. Whether for personal enjoyment, educational purposes, or demonstrating engineering concepts, a leaf blower-powered hovercraft represents a rewarding and innovative DIY endeavor.