How Do You Remold A Mouthguard
Remolding a mouthguard is an important process for athletes and individuals who wear protective dental gear. Over time, mouthguards can lose their perfect fit due to changes in teeth alignment or material wear. Ensuring a proper fit is crucial for both comfort and safety, as a poorly fitting mouthguard can cause discomfort, impede breathing, and fail to provide adequate protection. Understanding how to remold a mouthguard can help maintain optimal performance while avoiding unnecessary dental injuries. In this topic, we will explain step by step how to properly remold a mouthguard and provide tips for achieving a perfect fit.
Understanding the Importance of a Proper Fit
A mouthguard is designed to protect your teeth, gums, and jaw from injury during contact sports or physical activities. A well-fitted mouthguard absorbs and distributes impact forces, reducing the risk of broken teeth or jaw injuries. Over time, however, heat, moisture, and wear can alter its shape. Remolding allows the material to adapt back to the contours of your teeth, restoring comfort and safety. Ensuring your mouthguard fits snugly against your teeth and gums can also improve speech and breathing during athletic activities.
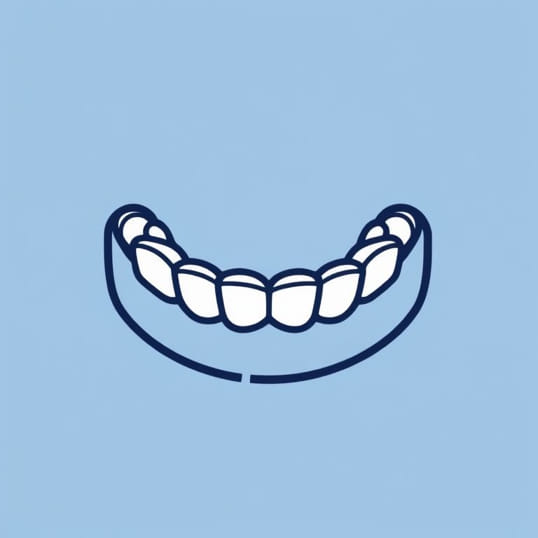
Types of Mouthguards
Before remolding, it is important to know the type of mouthguard you have, as the process varies slightly between types.
- Boil-and-bite mouthguardsMade of thermoplastic material that softens when heated. These are the most common type and can be remolded multiple times.
- Custom-fitted mouthguardsMade by a dentist from dental impressions. These provide the best fit but may not be suitable for repeated remolding at home.
- Stock mouthguardsPre-formed and ready to wear. These offer limited comfort and usually cannot be effectively remolded.
Materials and Tools Needed
To remold a mouthguard safely, you will need a few simple tools and materials. These typically include
- A bowl of hot water (usually between 160-180°F or 70-80°C)
- A pair of tongs or a slotted spoon to handle the mouthguard
- Cold water for rapid cooling and setting the new shape
- A mirror to check alignment and fit during the molding process
Step-by-Step Guide to Remolding a Mouthguard
Follow these steps to ensure your mouthguard is properly remolded for optimal fit and comfort.
Step 1 Boil Water
Bring a small pot of water to a boil, then allow it to cool slightly. The water should be hot enough to soften the mouthguard but not so hot that it damages the material. Typically, a temperature range of 160-180°F (70-80°C) is recommended.
Step 2 Soften the Mouthguard
Using tongs or a slotted spoon, submerge the mouthguard in the hot water for 20-30 seconds. Thermoplastic material will soften, allowing it to be molded to the shape of your teeth. Avoid leaving it in the water too long, as over-softening can make the mouthguard lose structural integrity.
Step 3 Remove and Cool Slightly
Carefully remove the mouthguard from the hot water using tongs. Allow it to cool for a few seconds so it is warm but not hot enough to burn your mouth. This step is essential for safe handling and comfort during the fitting process.
Step 4 Fit to Teeth
Place the mouthguard into your mouth and press it against your upper teeth (or lower teeth if specified). Use your fingers and tongue to mold the material around your teeth and gums. Bite down gently to ensure proper alignment and adjust the material around your molars and front teeth for a snug fit.
Step 5 Set the Shape
Once the mouthguard is properly fitted, remove it and place it in cold water for 1-2 minutes. This rapid cooling process sets the new shape, making the material firm while retaining the customized fit.
Step 6 Test and Adjust
After cooling, test the fit by wearing the mouthguard. It should feel snug but comfortable. Ensure you can breathe easily and that the mouthguard does not slip during movement. If adjustments are needed, repeat the softening and molding steps until the perfect fit is achieved.
Tips for Optimal Mouthguard Remolding
- Always follow the manufacturer’s instructions for boiling and molding times, as overheating can damage the material.
- Do not rush the fitting process; proper pressure and positioning are key for a snug and protective fit.
- Inspect the mouthguard regularly for cracks, tears, or excessive wear, and replace it if necessary.
- For custom-fitted mouthguards, consult a dentist for professional adjustments rather than attempting repeated home remolding.
- Keep the mouthguard clean by rinsing it with cold water after use and storing it in a ventilated case.
Common Mistakes to Avoid
Remolding a mouthguard may seem straightforward, but there are common mistakes that can reduce its effectiveness
- Overheating the material, causing it to deform or become too soft.
- Failing to bite evenly, resulting in an uneven fit that reduces protection.
- Ignoring small gaps or loose areas around teeth and gums, which can allow the mouthguard to shift during use.
- Using cold water immediately after removing from boiling water without checking that it is shaped correctly, leading to a poorly molded fit.
When to Replace Your Mouthguard
Even with careful remolding, mouthguards have a finite lifespan. Signs that it is time to replace your mouthguard include
- Visible cracks, tears, or deformities in the material
- Difficulty achieving a snug fit after multiple remolding attempts
- Uncomfortable pressure points or gum irritation
- Changes in teeth alignment due to braces, dental work, or natural growth
Remolding a mouthguard is a simple but essential process to maintain dental protection, comfort, and performance during sports and physical activities. By following proper steps including heating, molding, cooling, and testing you can ensure a secure fit that adapts to changes in your teeth or jaw. Regular inspection, cleaning, and timely replacement are also critical for prolonging the life of your mouthguard and preventing injuries. Understanding how to remold your mouthguard not only improves safety but also enhances comfort, allowing you to focus on your sport without distraction.